9 amazing things to do on Magnetic Island in 2 days
Disclosure
Welcome and thank you for visiting this article. Before you start reading, you need to know that some of the links on my website are affiliate links from which I receive a small commission from the sale of certain items, but the price remains the same for you.
A short distance off the coast of Townsville is where you’ll find Magnetic Island. A tiny island with stunning beaches and a tropical climate that is home to not only koalas but also snakes, lorikeets, and a wide variety of other fascinating wildlife.
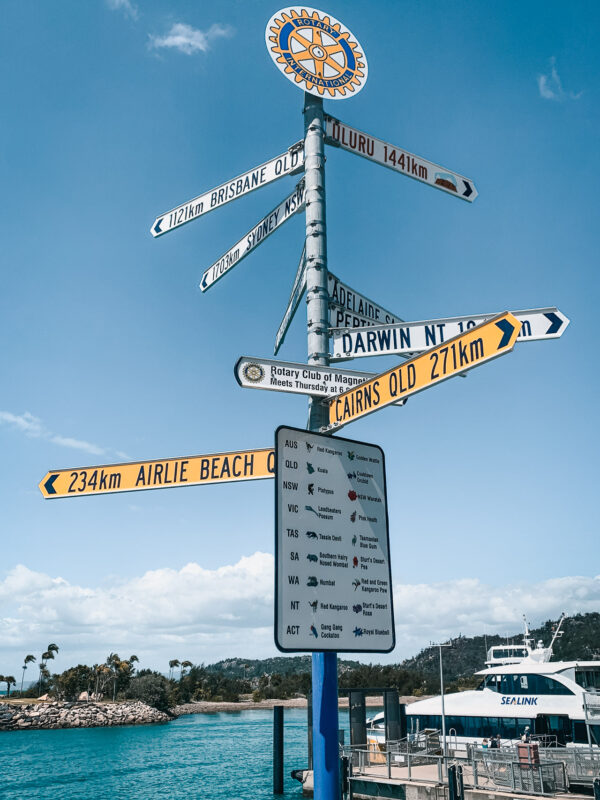
It was quite obvious that I couldn’t miss this place during my big lap around Australia. For two days, I left my car in the parking lot of the SeaLink terminal in Townsville and took the ferry to explore some of the most beautiful places.
After discovering that there are actually many awesome things to do on Magnetic Island and that all the rental cars were taken, I decided to extend my stay by one more night so that I could explore the island by public transport.
In this article, you will read more about the best places on the island, how to get around, extra tips, and awe-inspiring photographs that I took during my trip.
READ ALSO: The Big Lap: the ultimate road trip around Australia in 2 years
How to get to Magnetic Island?
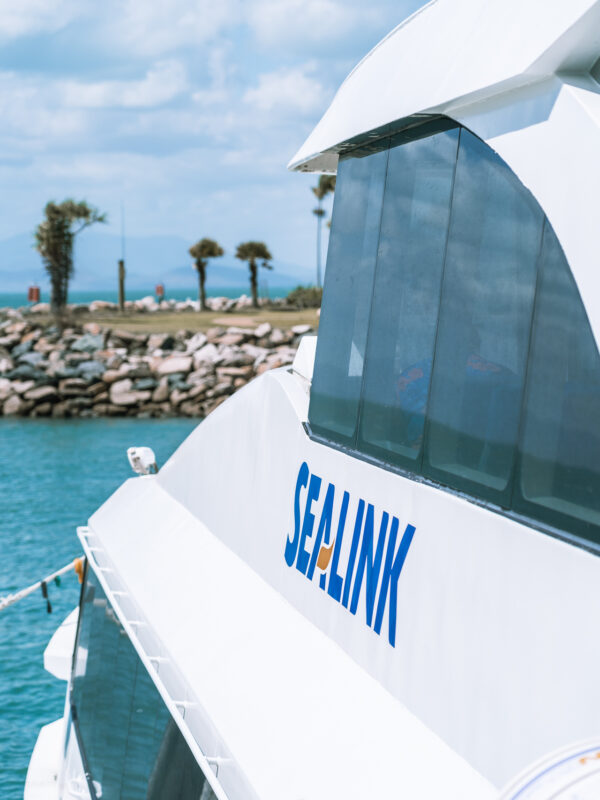
To reach the island, you’ll have to take a ferry which is pretty easy with the SeaLink ferry from Townsville to Magnetic Island. These ferries are leaving from the SeaLink Ferry Terminal at the end of the Strand Promenade and right next to the Marina.
You will also find the Greyhound bus stop here, so it’s very convenient if you are traveling by public transport across Australia.
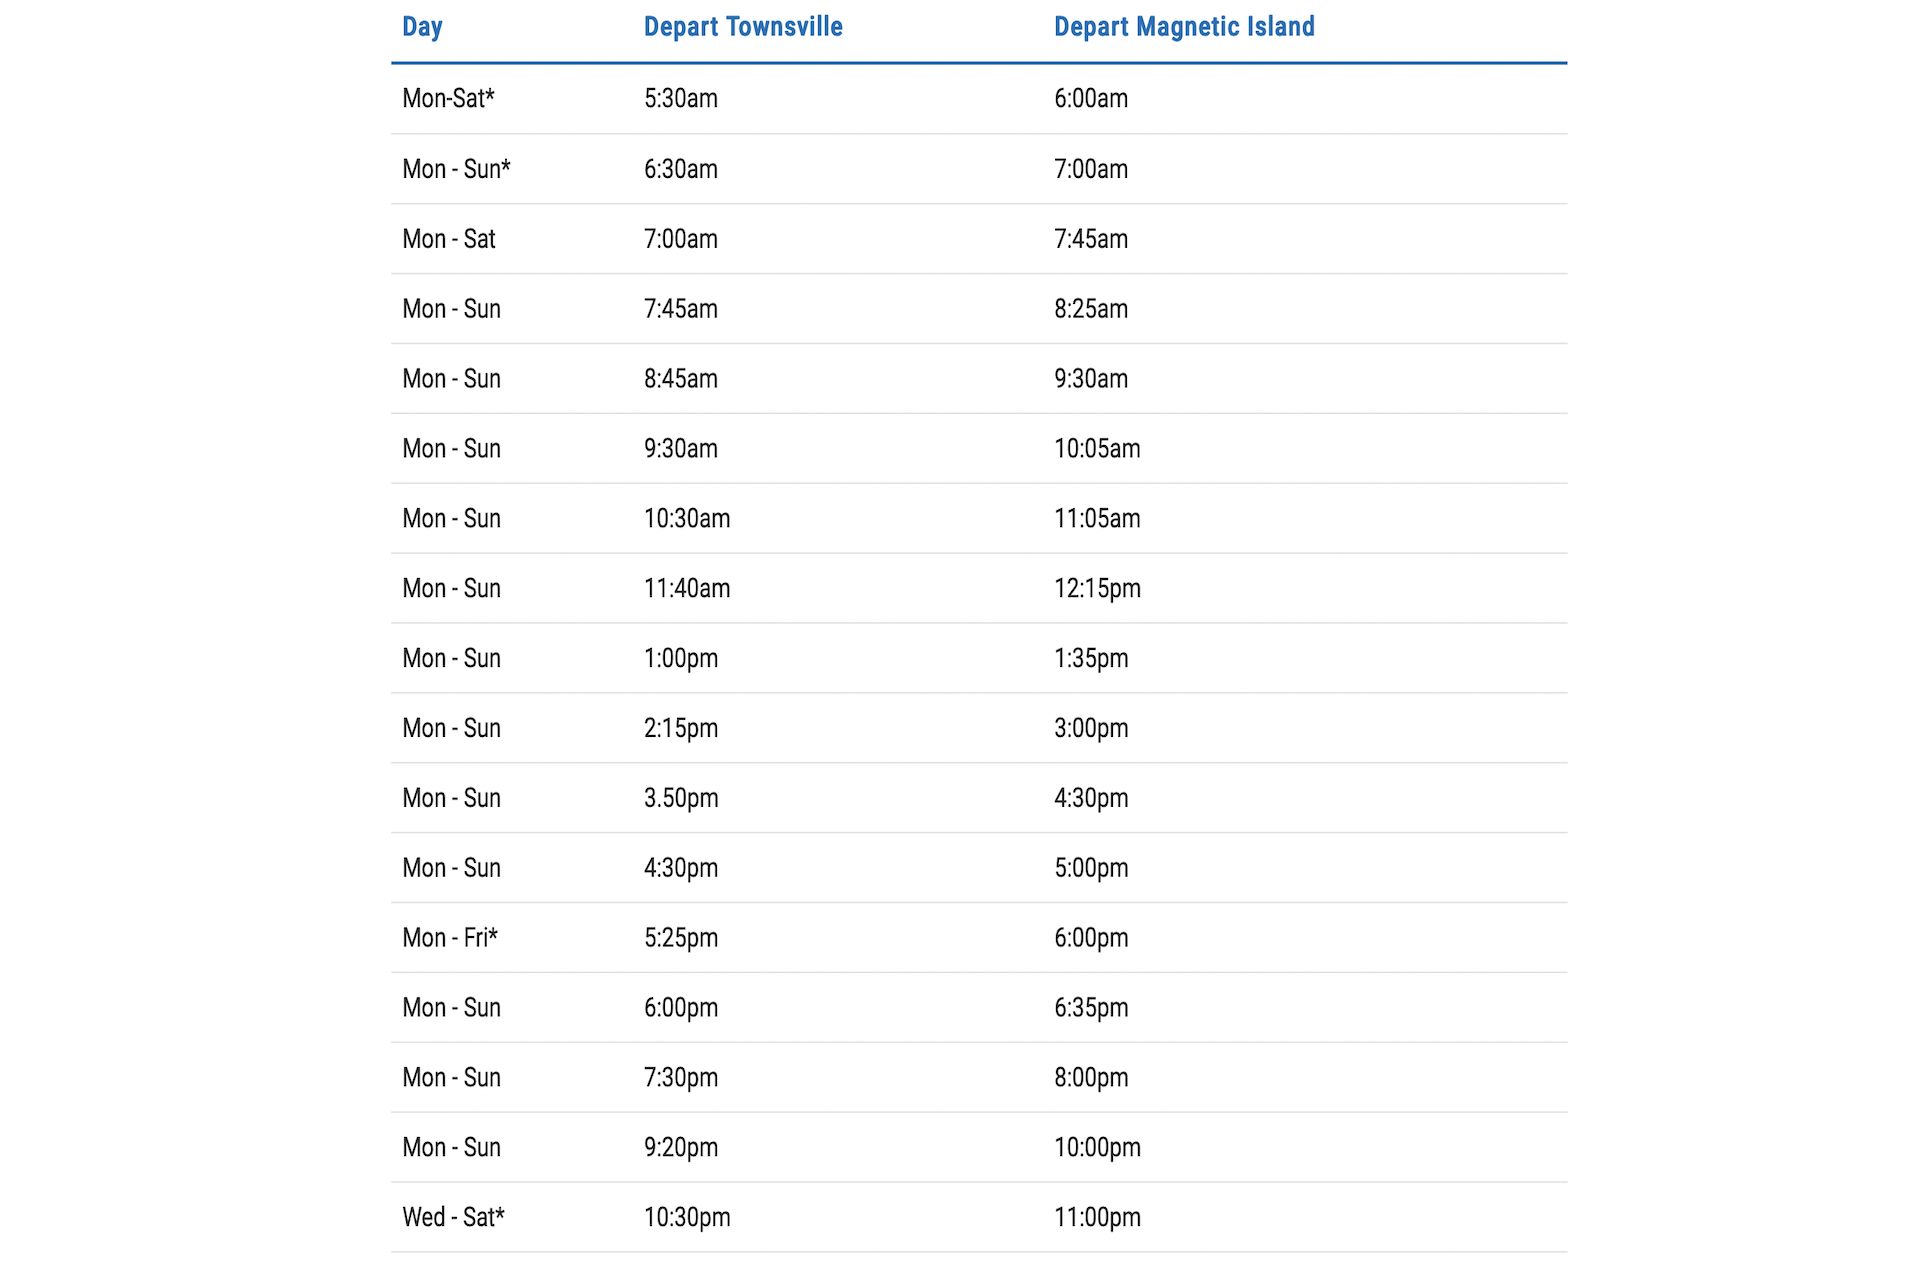
When you take the SeaLink Ferry from Townsville, you will arrive there in less than half an hour. The ferries to Magnetic Island run approximately hourly between 6 AM and 11 PM (except on public holidays) and return tickets cost AU$36 per person
BOOK: Book your tickets for the Sealink Ferry from Townsville to Magnetic Island in advance
Ferry timetable to Magnetic Island?
This timetable gives you an excellent overview of the time schedule when the ferries are leaving for Magnetic island and arriving back in Townsville.
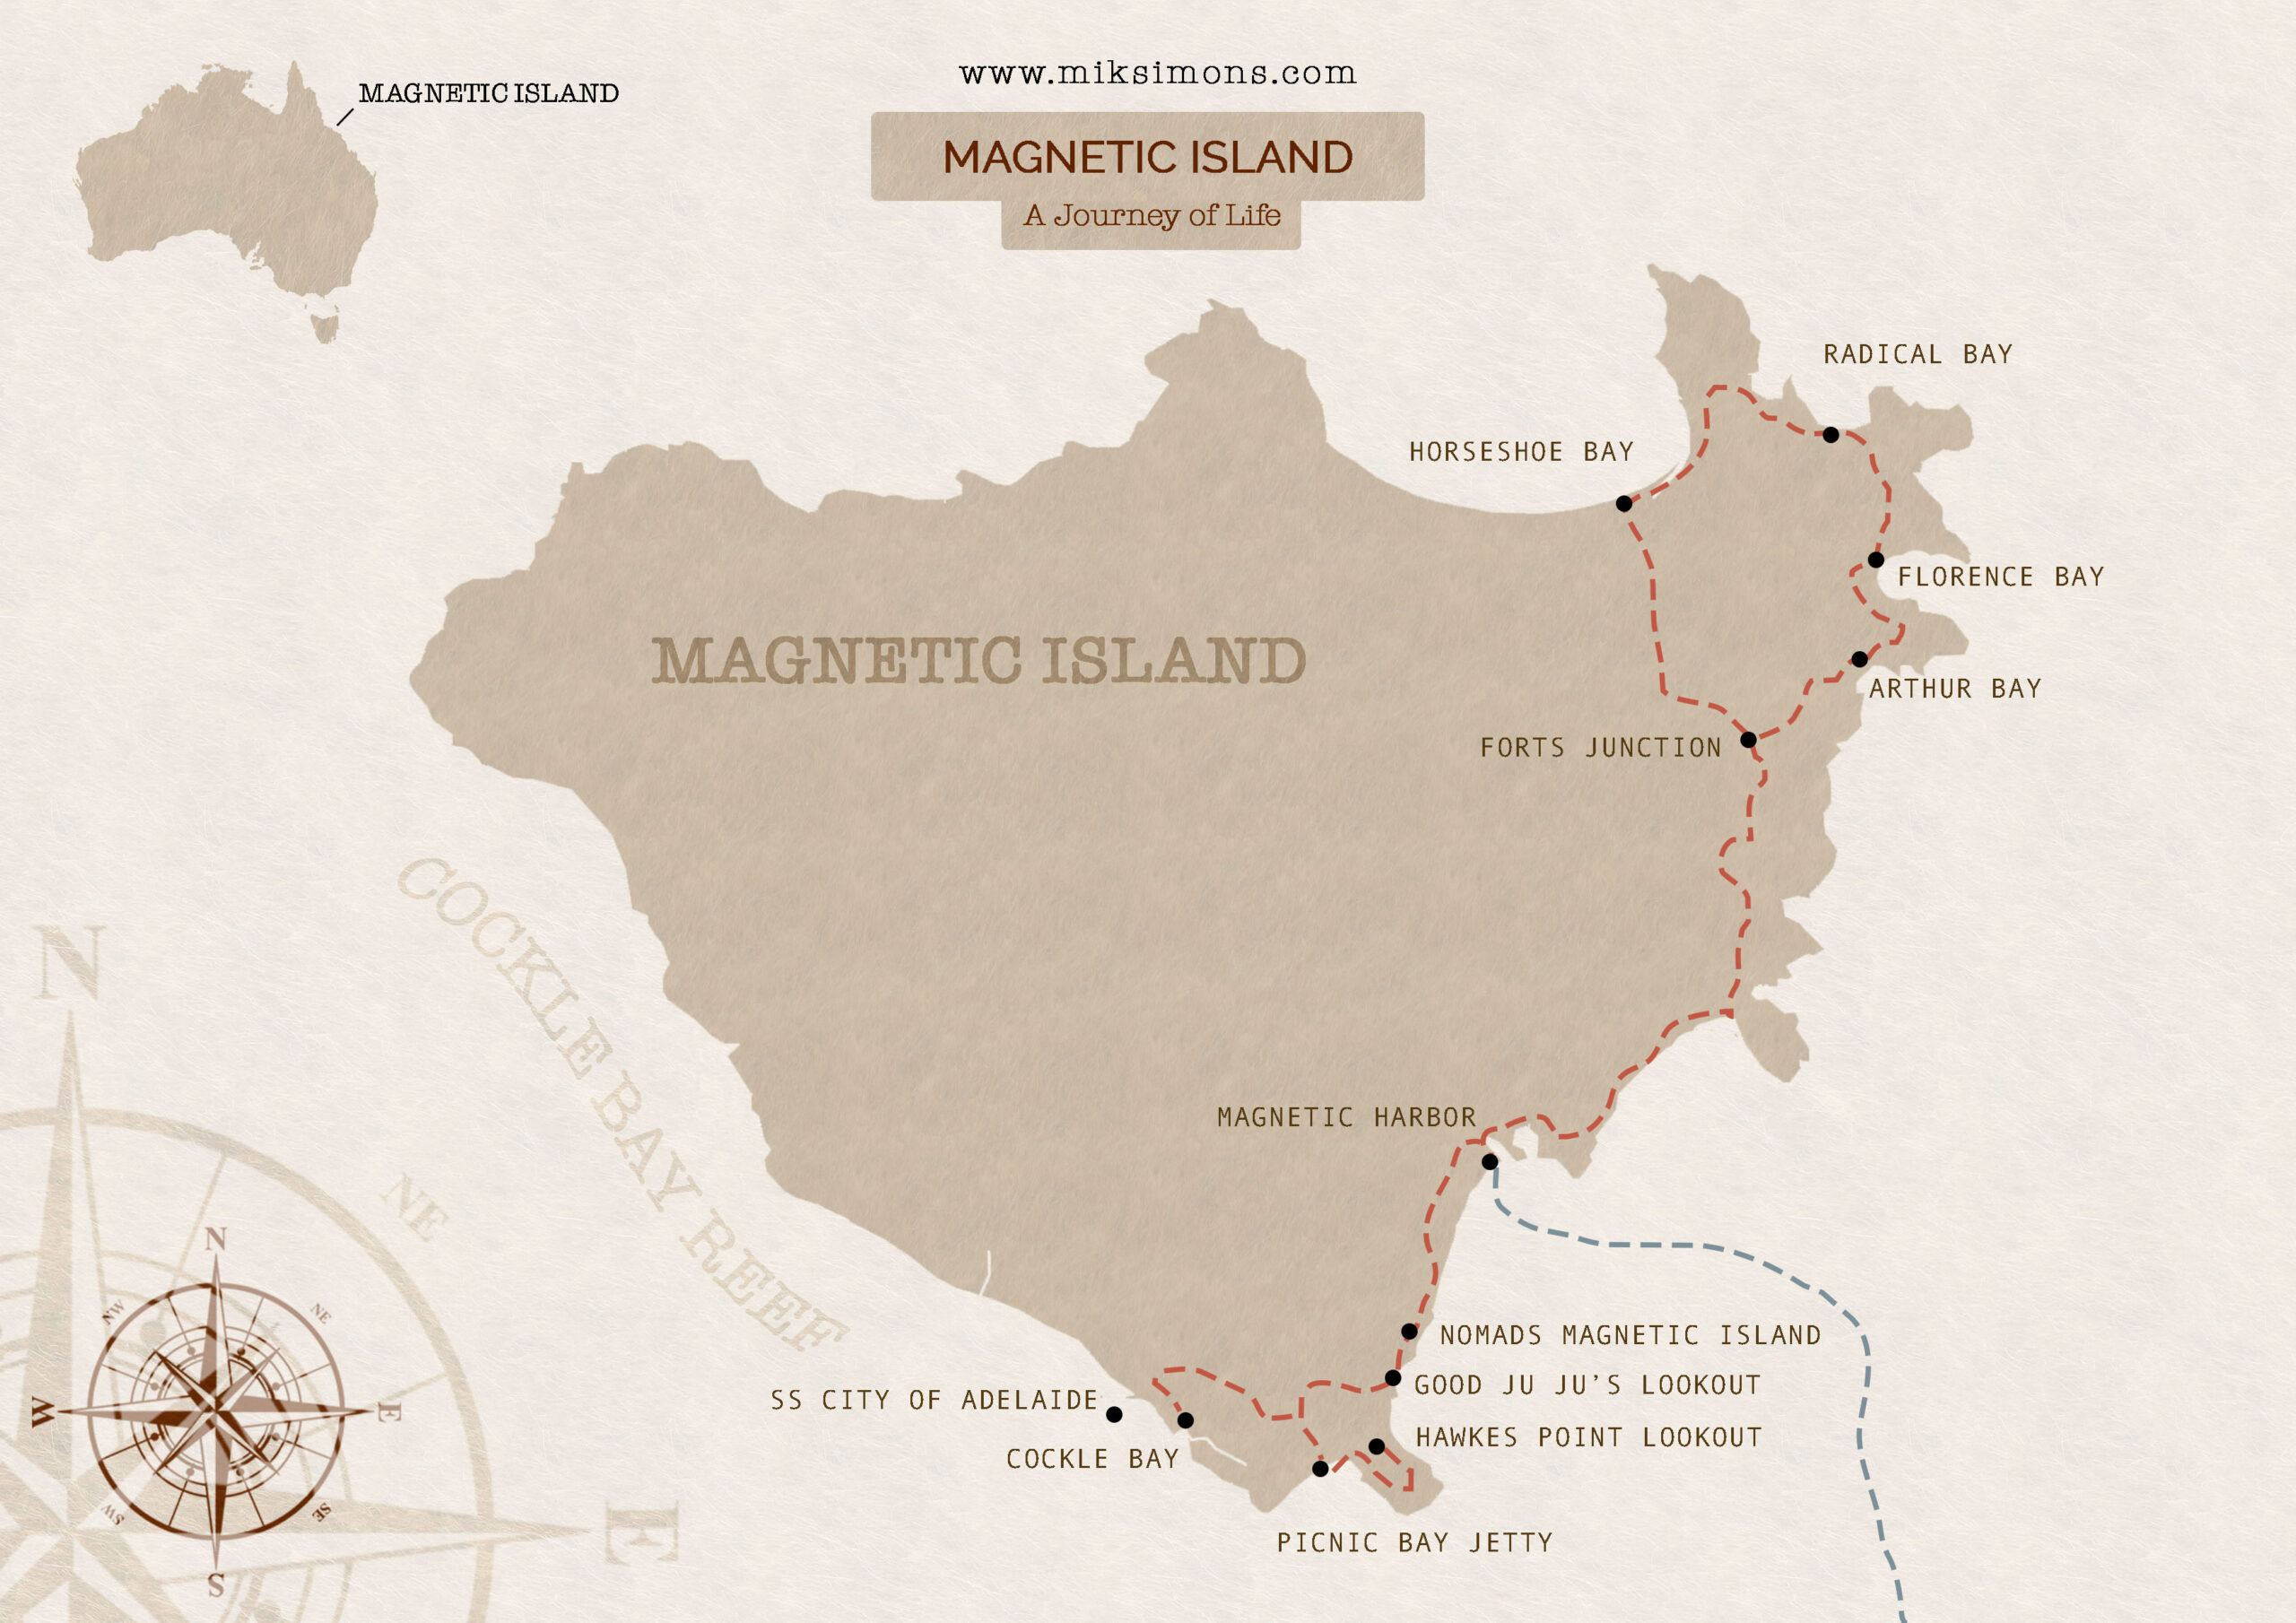
Map of Magnetic Island
Getting around Magnetic Island?
Renting a car or scooter is the most convenient way to get around, and Magnetic Island is famous for the kitschy-colored jeeps that are available for rent there. Imagine yourself behind the wheels of a Barbie car.
Most car rental agencies can be found in or around the village, however, I strongly advise booking in advance as all vehicles on the island were rented out during my visit.
Therefore, I chose to travel around the island by bus as it was the most cost-effective way. You can take the Sunbus, which leaves from Picnic Bay and travels all the way to Horseshoe Bay, making a few stops along the way.
Each one-way ticket costs between AU$2.4 and AU$3.6 depending on the zones you’ll travel to and the tickets are valid for 2 hours, while a day pass costs AU$7.2.
INFO: Check the Website of Sunbus Magnetic Island for the latest updates
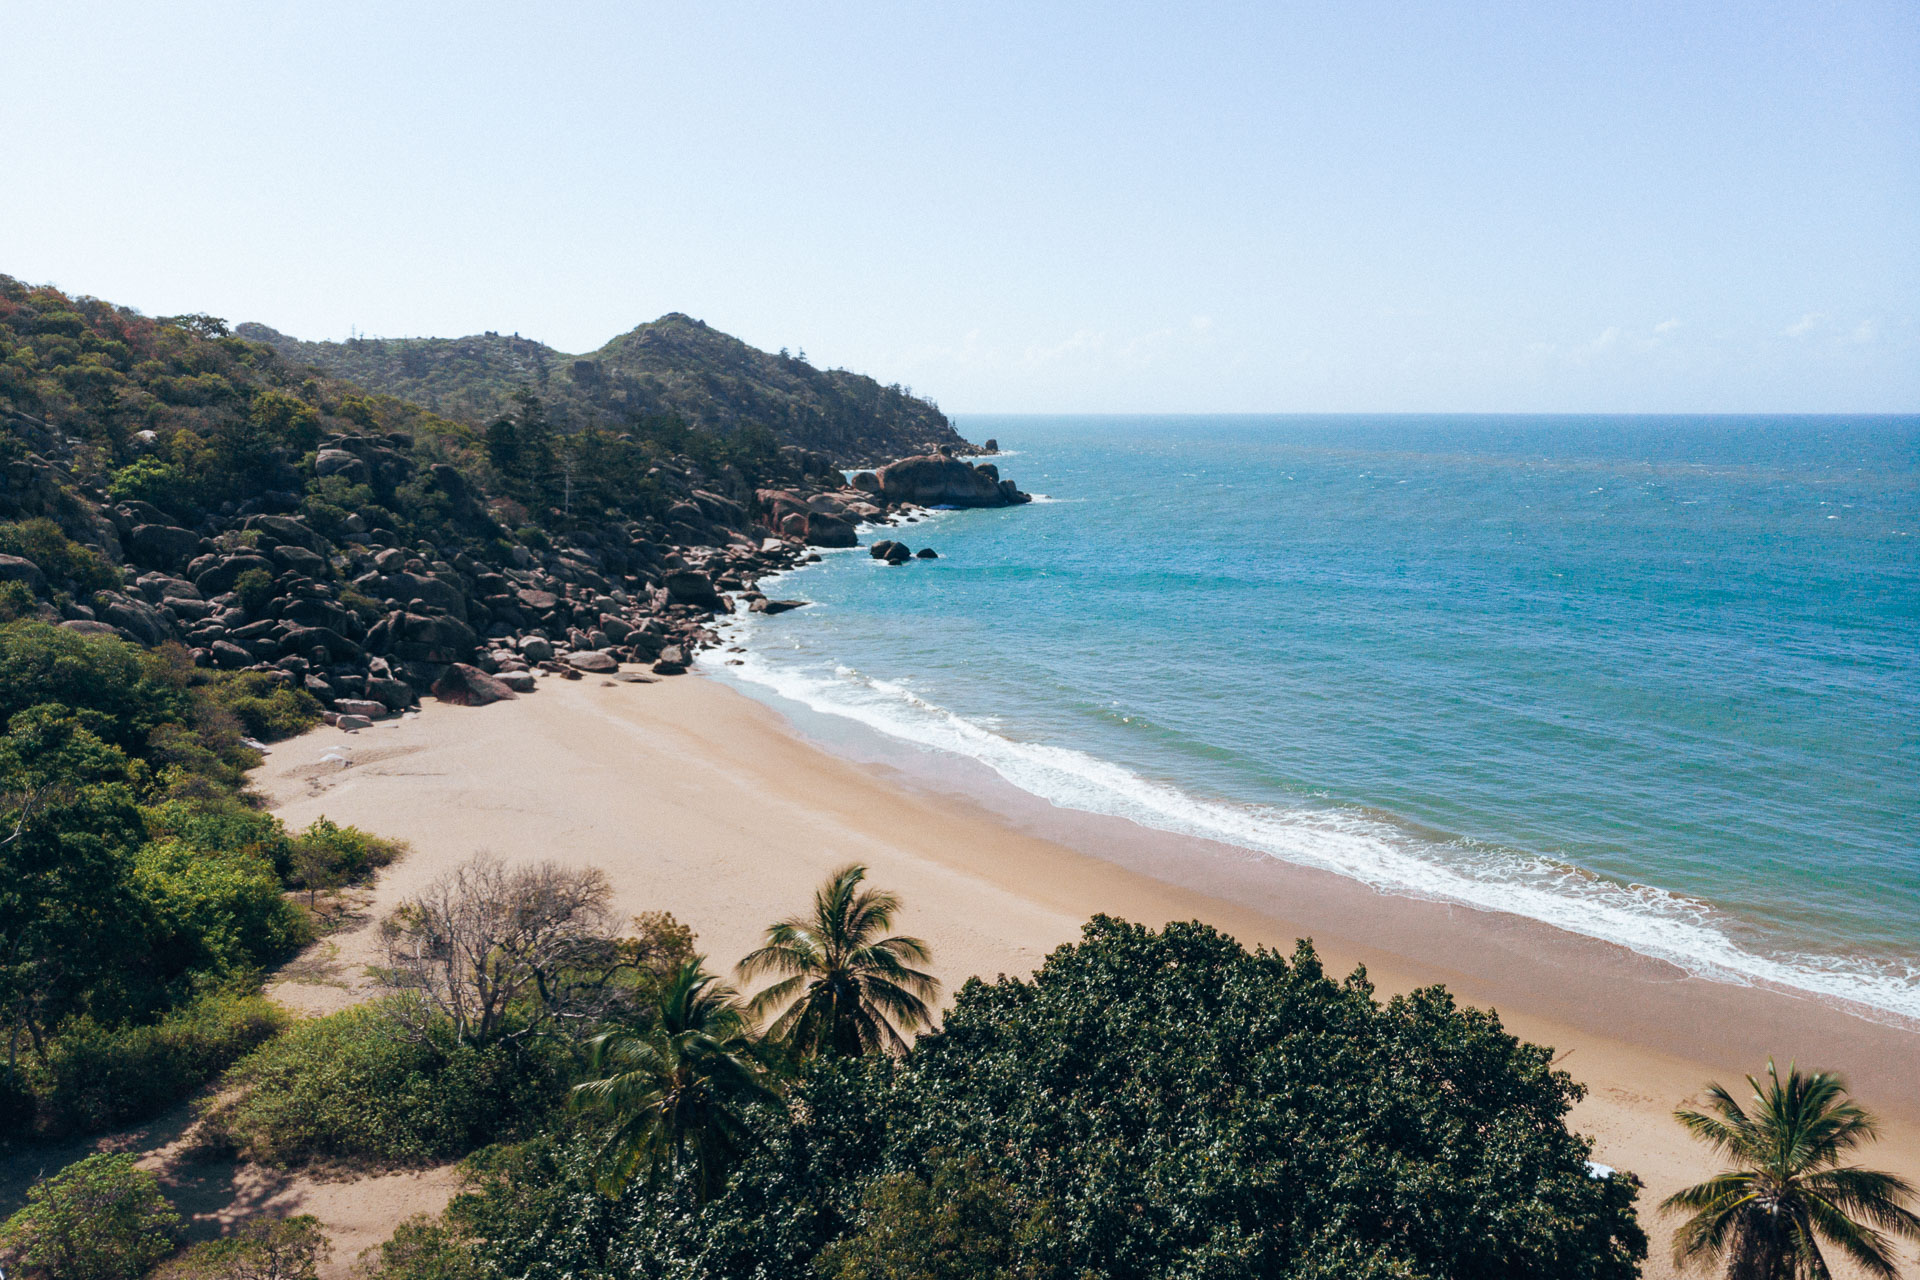
Accommodation on Magnetic Island
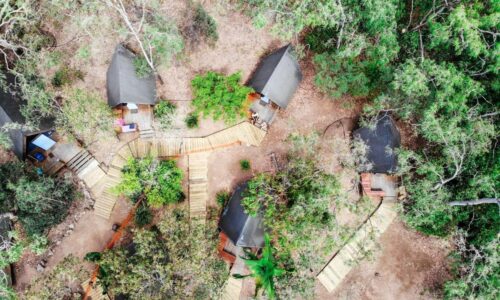
There are quite a few options for accommodation on Magnetic Island such as hotels, resorts, and hostels but also camping is possible.
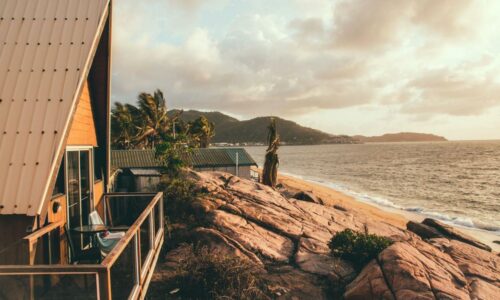
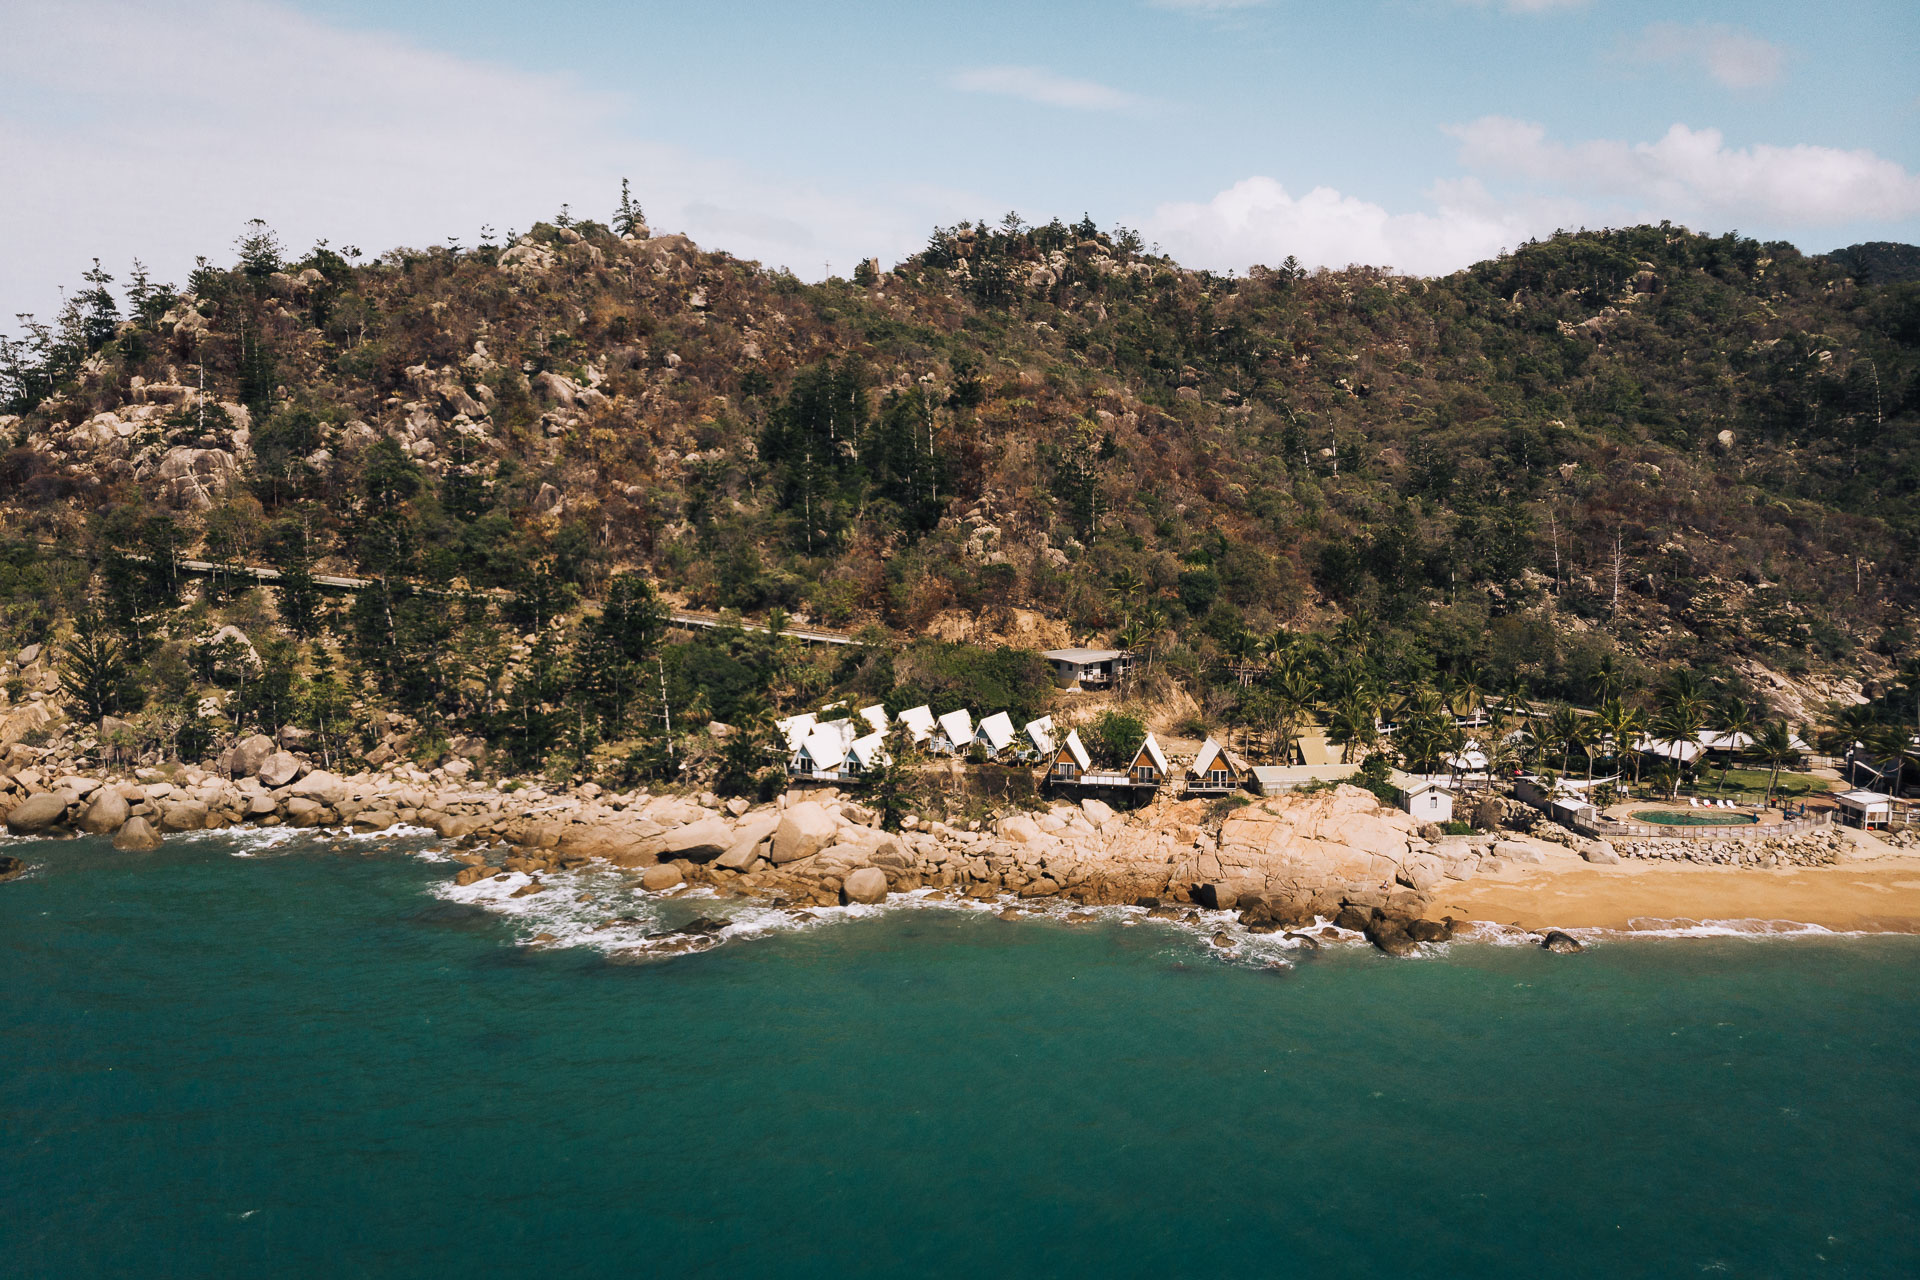
Since Nomads Magnetic Island (Base) has such lovely cabins for only AU$ 120 with a breathtaking panorama view over the ocean, I decided to spend my first night there.
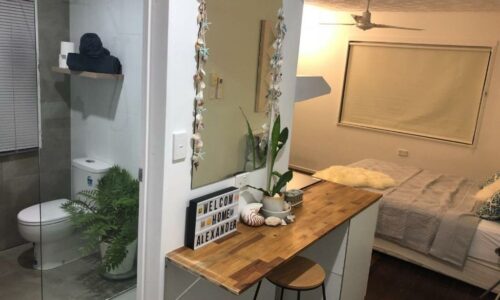
Normally, I would only stay one night and thus had no place to stay for the second night. Fortunately, I discovered the SEA-Easta containers at the port of Nelly Bay, which turned out to be excellent last-minute accommodation.
This place is only AU$ 80 a night, and it’s super cozy, with your own kitchen and in a great location.
However, if you want to spend more time around and enjoy the beaches then it’s best to stay at Horshoe Bay.
READ ALSO: 4WD on Fraser Island: The perfect adventure in 3 days
9 Awesome things to do on Magnetic Island
Day 1
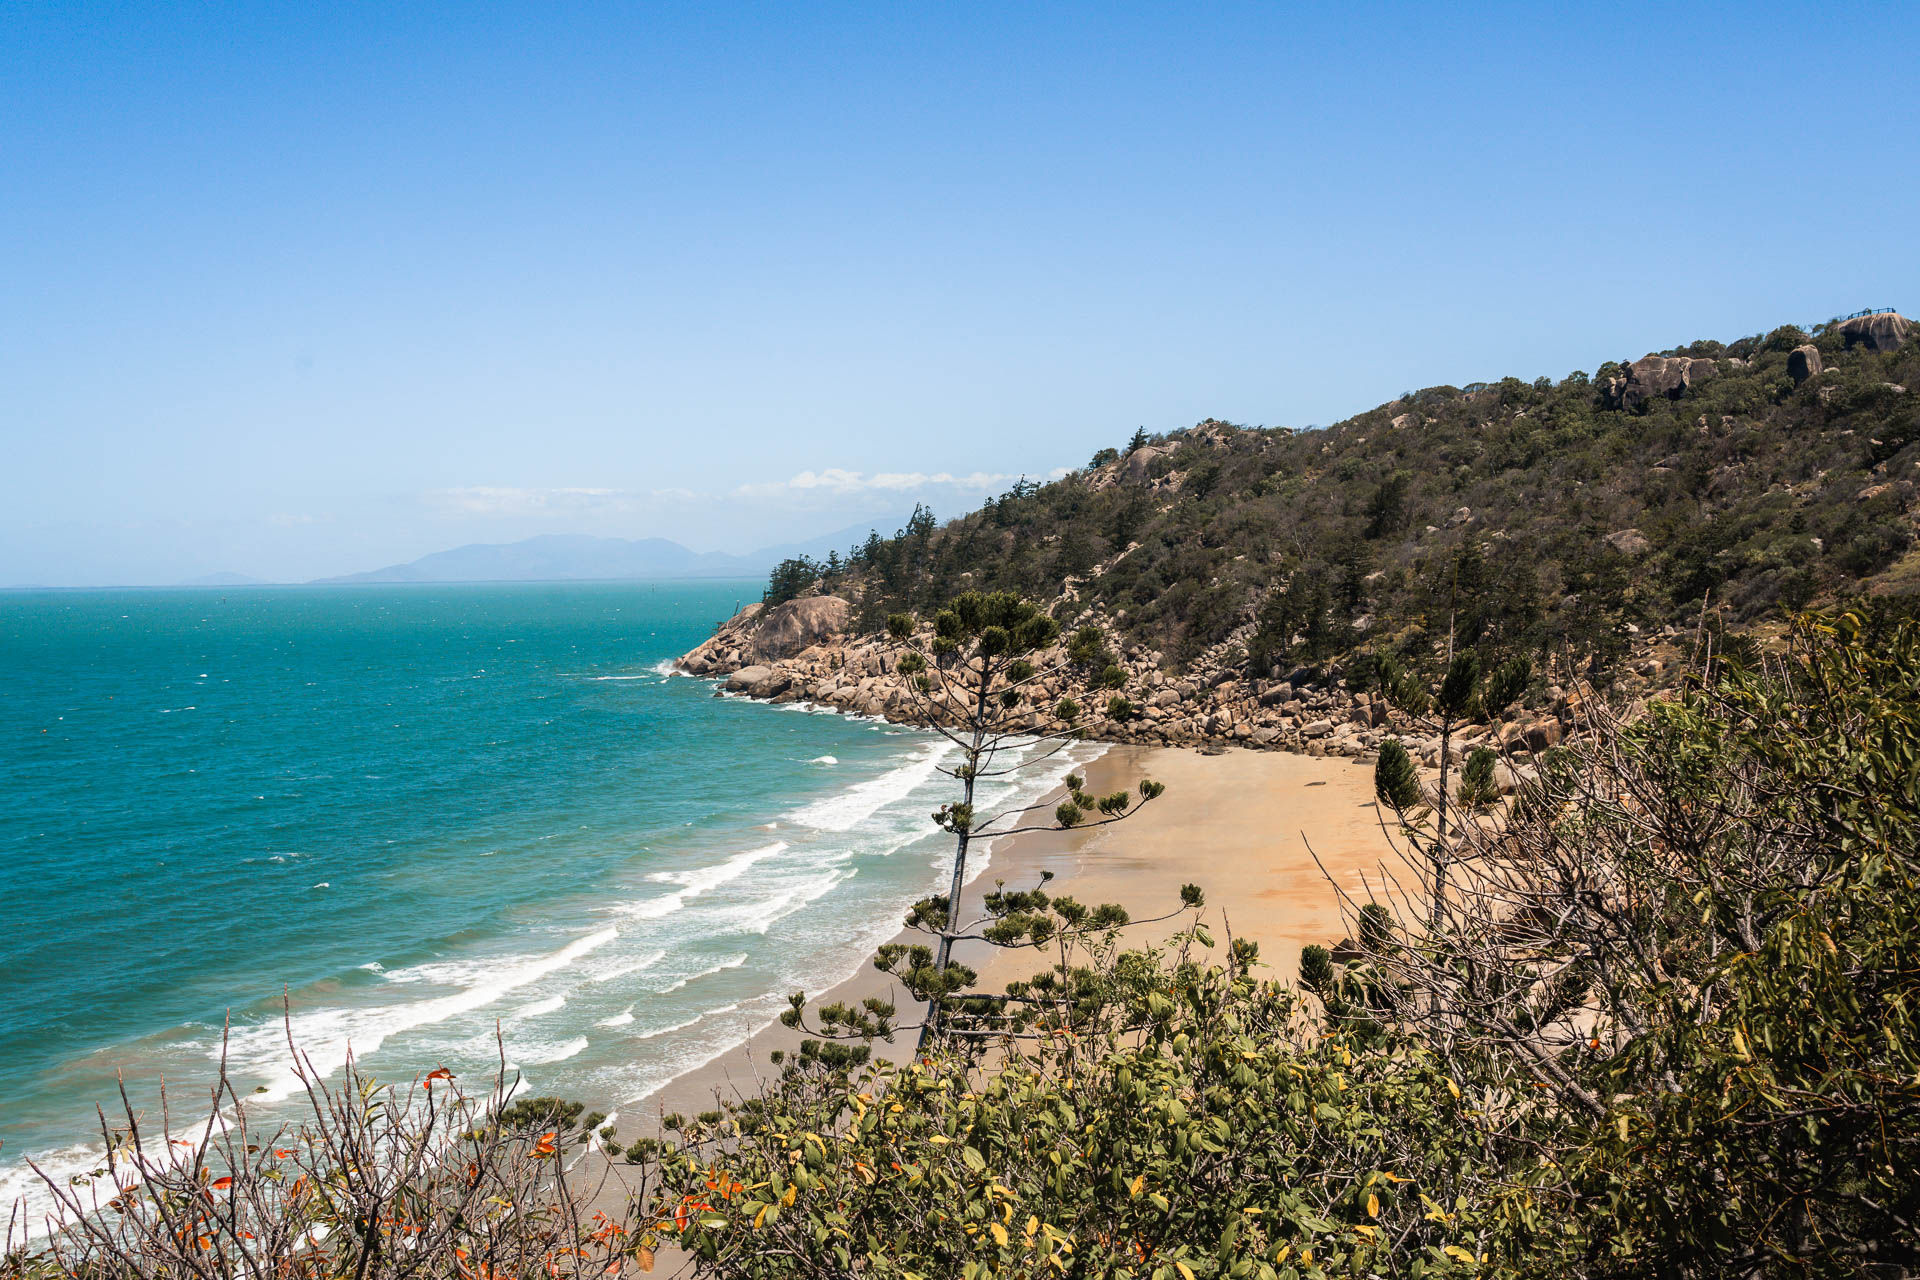
Good Juju Lookout
If you choose to stay in one of the cozy cabins of the Nomads Hostel (Base), located on the southern side of the island, you have to visit this lookout as it’s only a few minute’s walking from the accommodation and it’s on the way to Picnic Bay.
So, if you are thinking about going to Picnic Bay, you should make a small stop here to get the first impression of the island’s incredible views and if you are keen, you can even walk down to the bay to relax on the beach. I was a bit short on time so I didn’t walk all the way down, but it looks very promising.
READ ALSO: Cairns to Brisbane: the perfect East Coast road trip in Australia
Hawkes Point Lookout
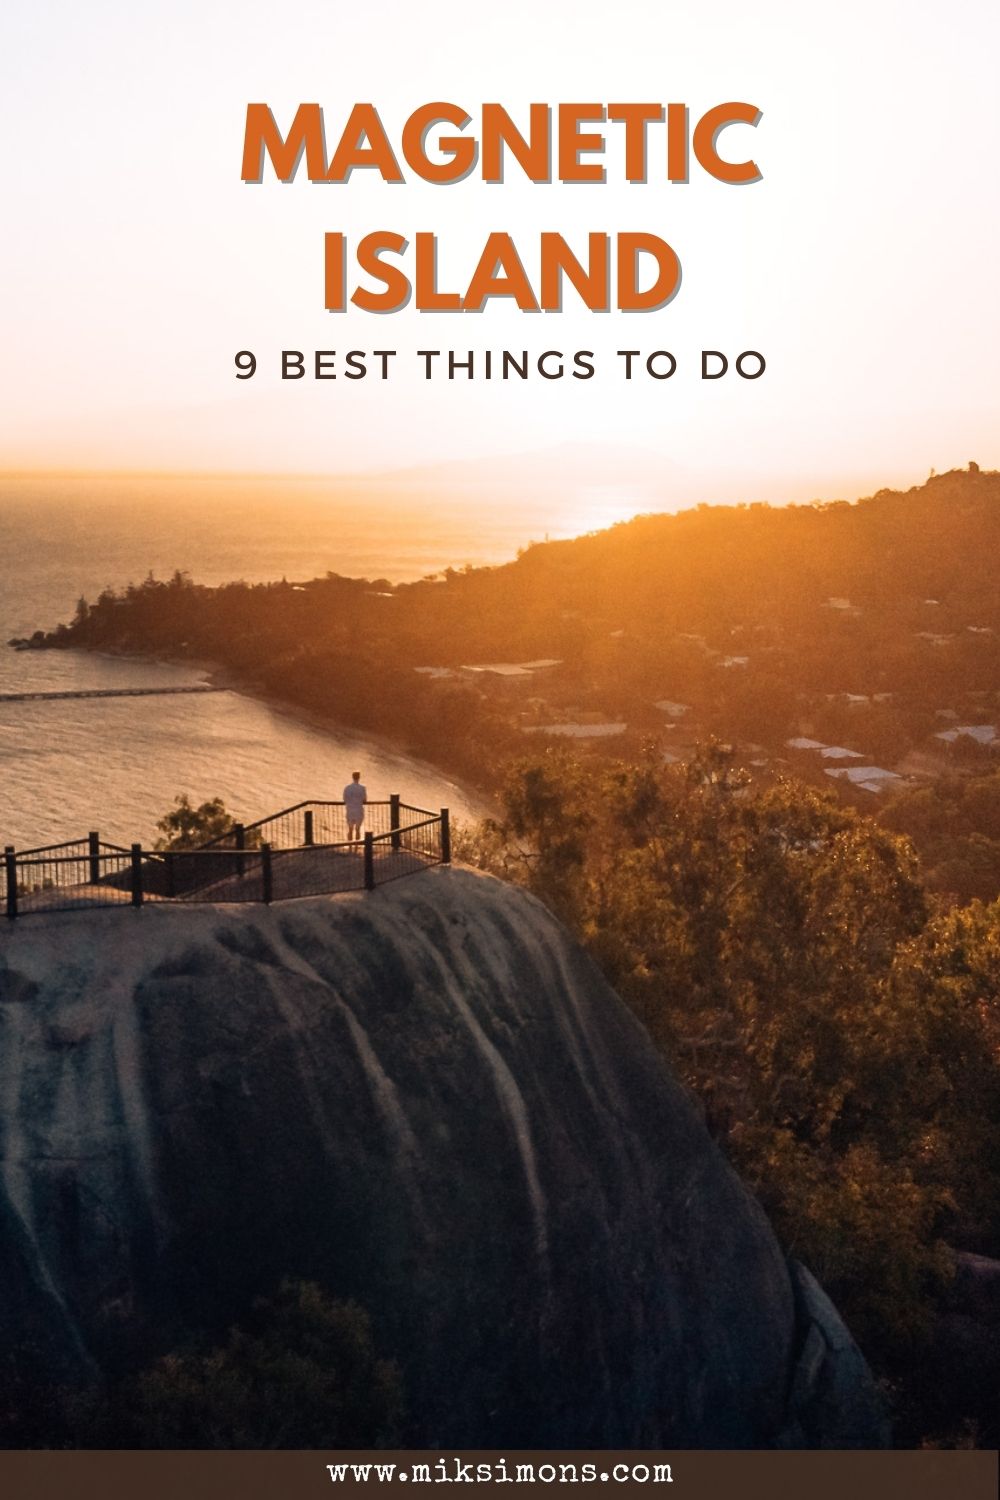
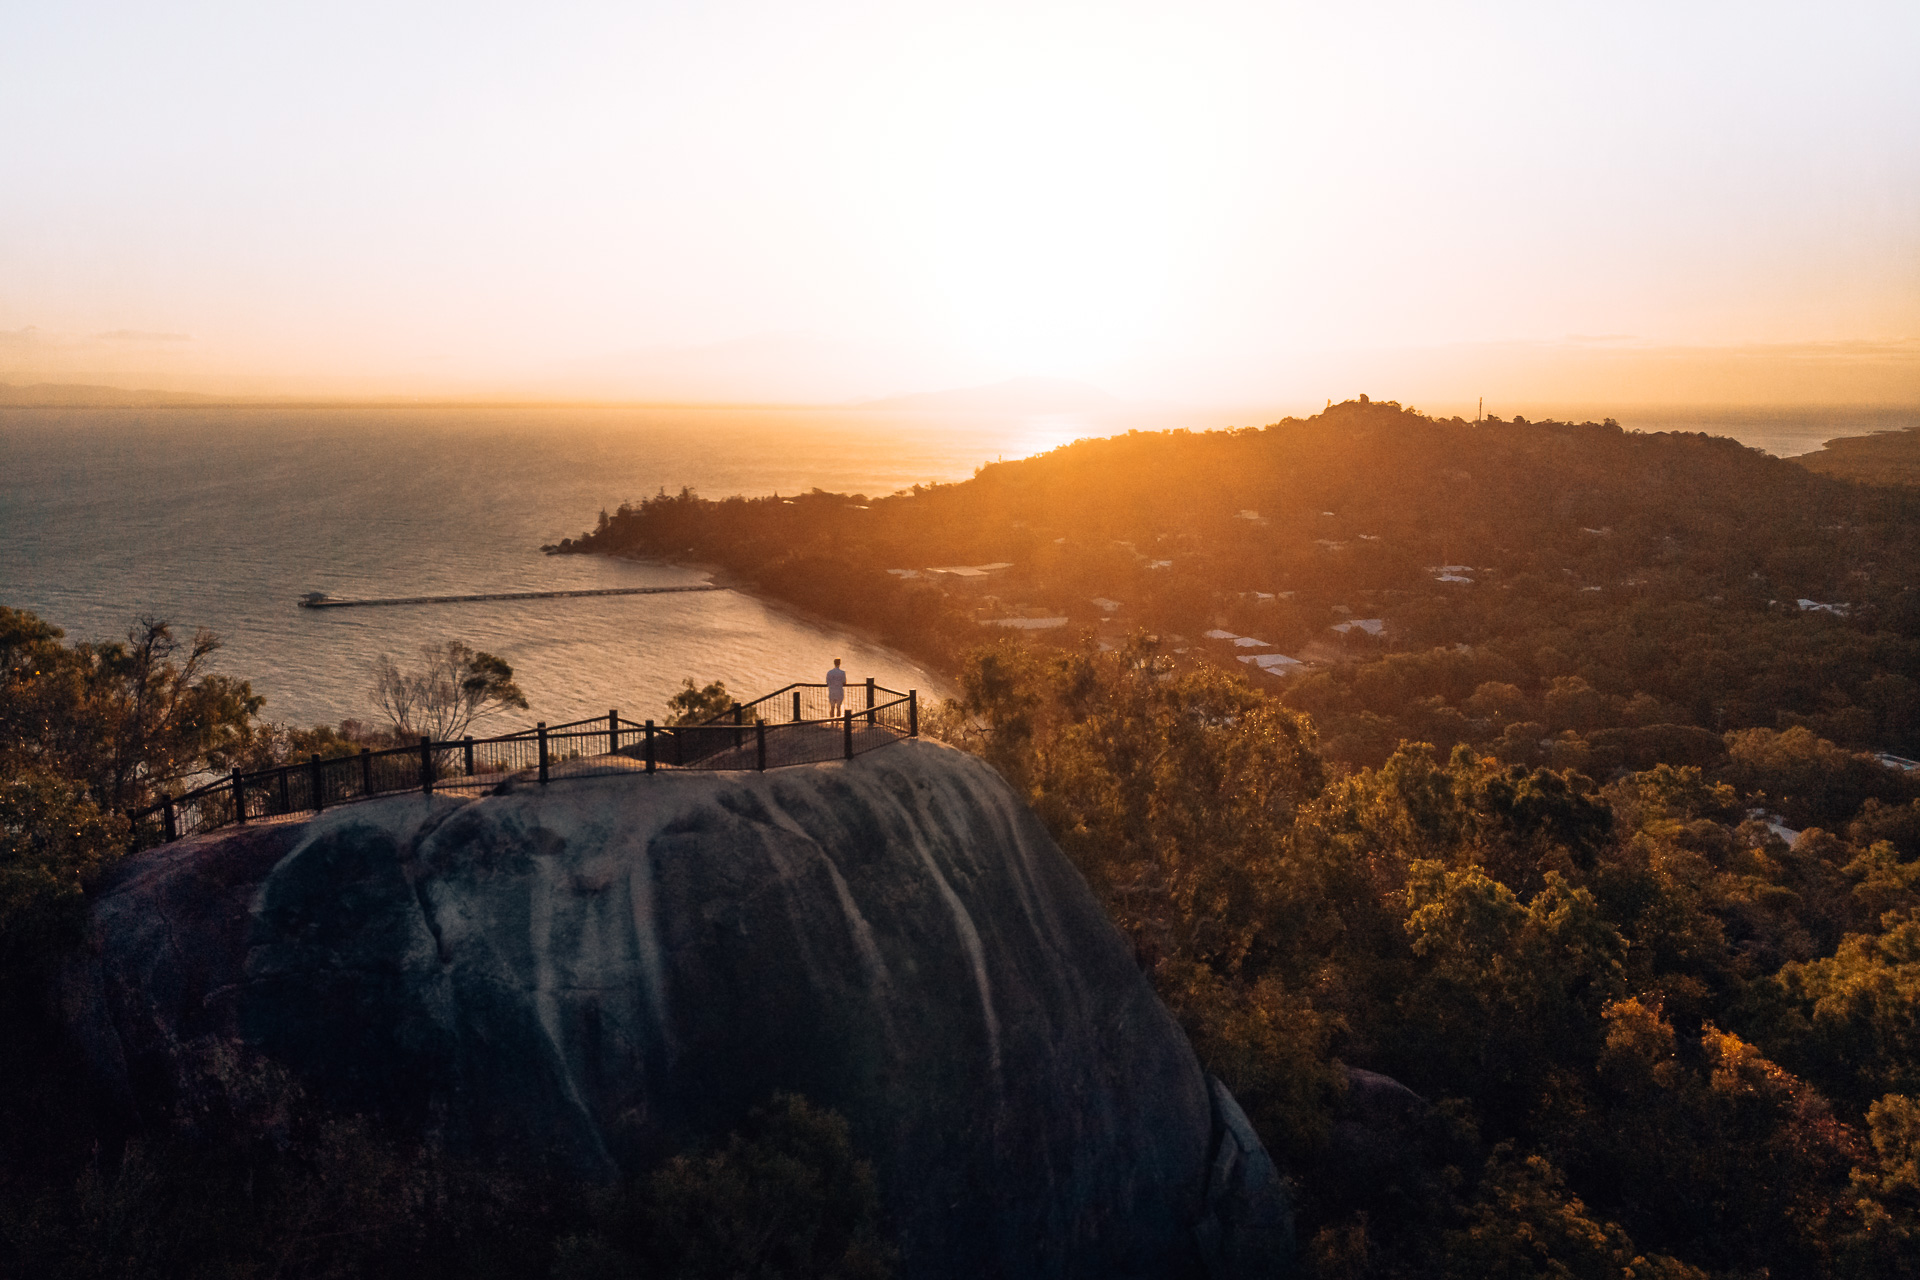
Another must-visit spot on the way to Picnic Bay and one of the places I loved the most during my stay is the Hawkes Point Lookout. From here, you have the most beautiful sunset on the entire island!
To get there, you’ll need to walk through a few village streets before taking a forest path up the hill. It’s not too tough at first, but the higher you get, the harder it gets and you’ll need to watch your step because the path will get narrower.
However, once you reach the peak, you will be rewarded with a breathtaking panorama over Picnic Bay and even Townsville, which can be seen from the distance.
The perfect place to end the first day!
Day 2
The shipwreck of “SS City of Adelaide”
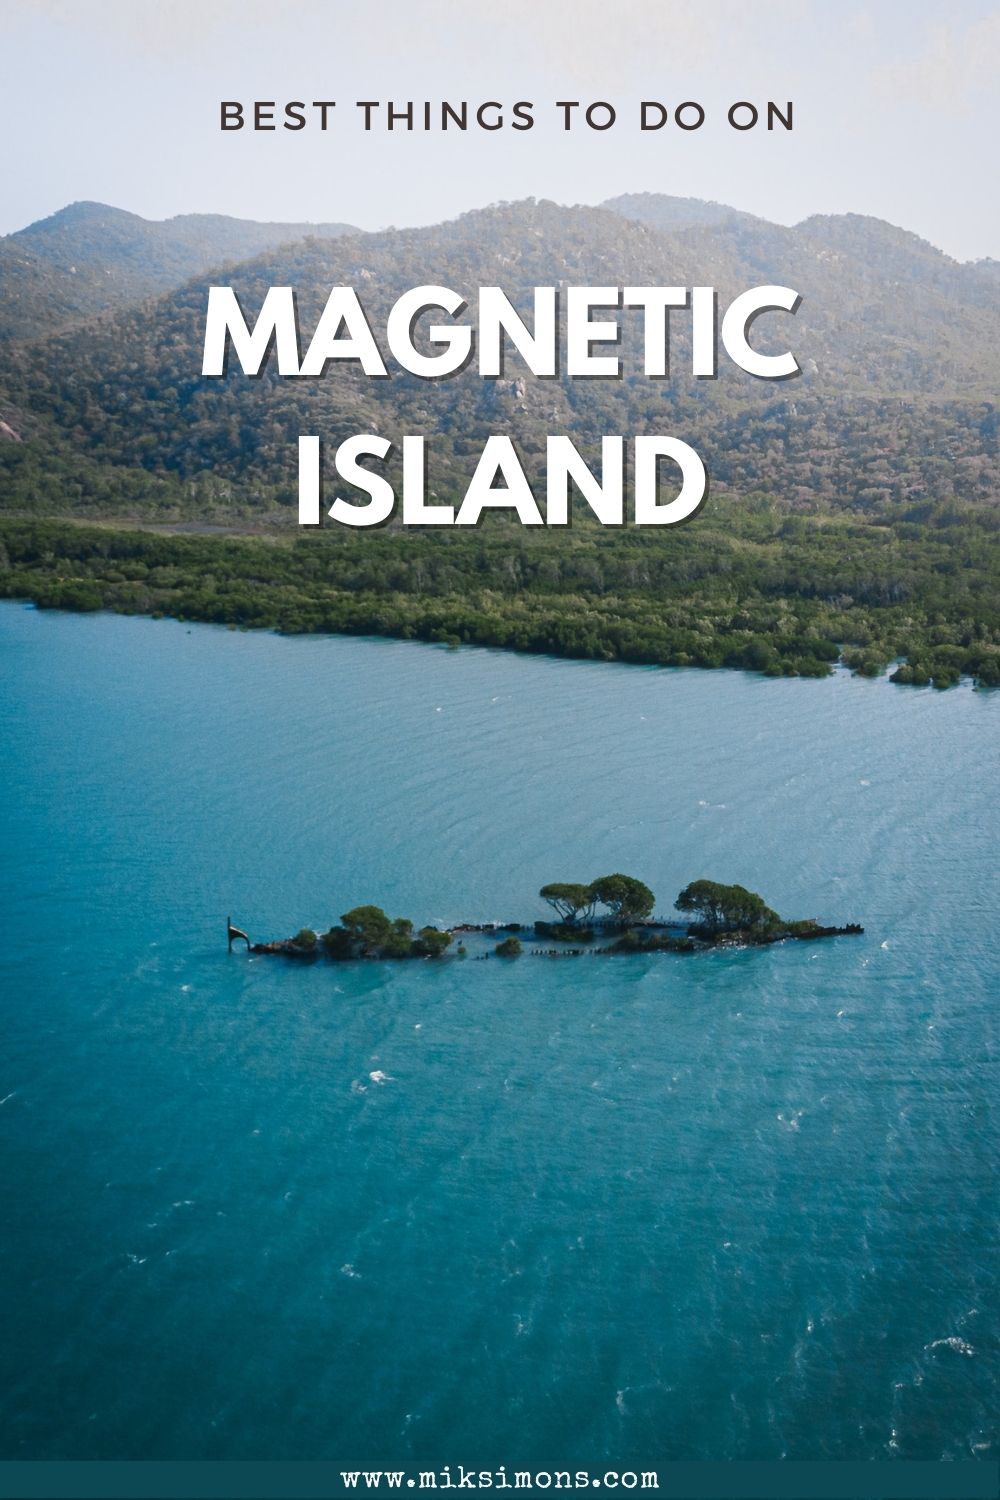
After having a wonderful time on the first evening, I got up early the next day to visit the shipwreck of the ‘SS City of Adelaide’, which is located on the southeast side of the island.
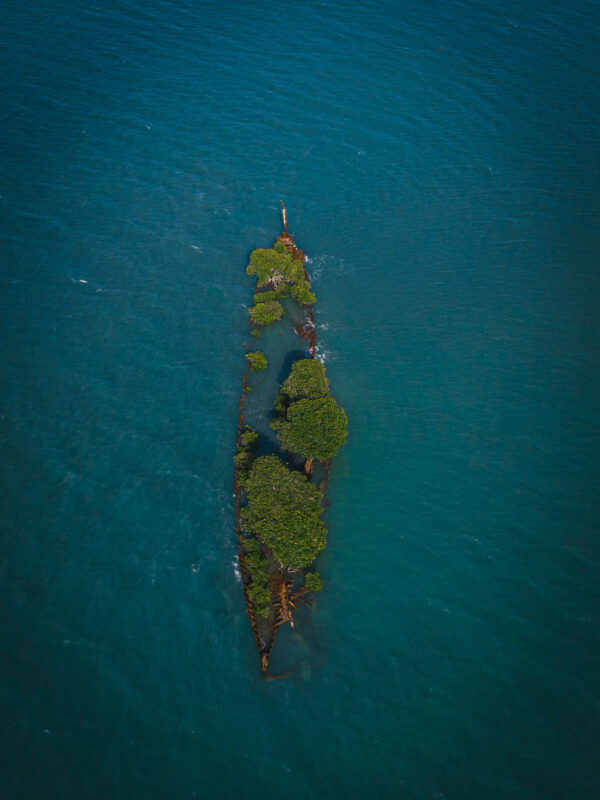
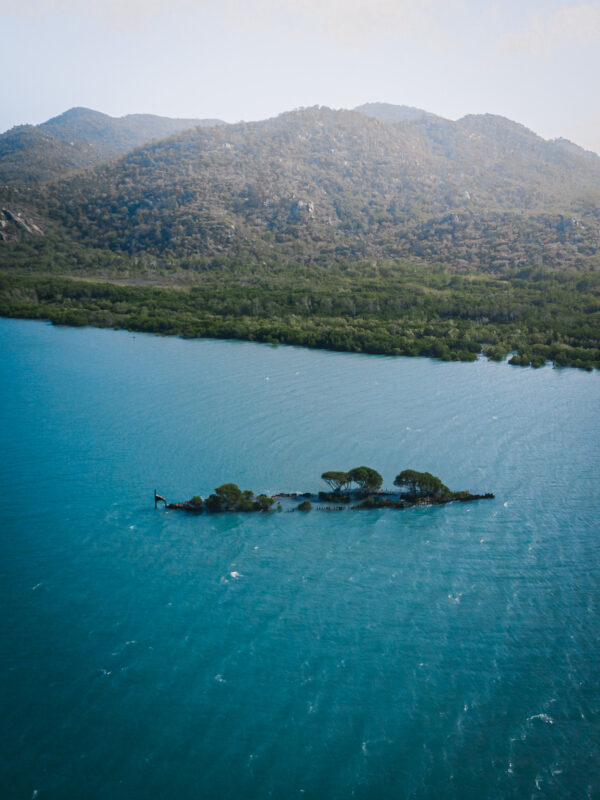
When the tide is low, it is possible to get there on foot and have a closer look at the shipwreck that’s been there since 1916, though, the terrain may be quite muddy.
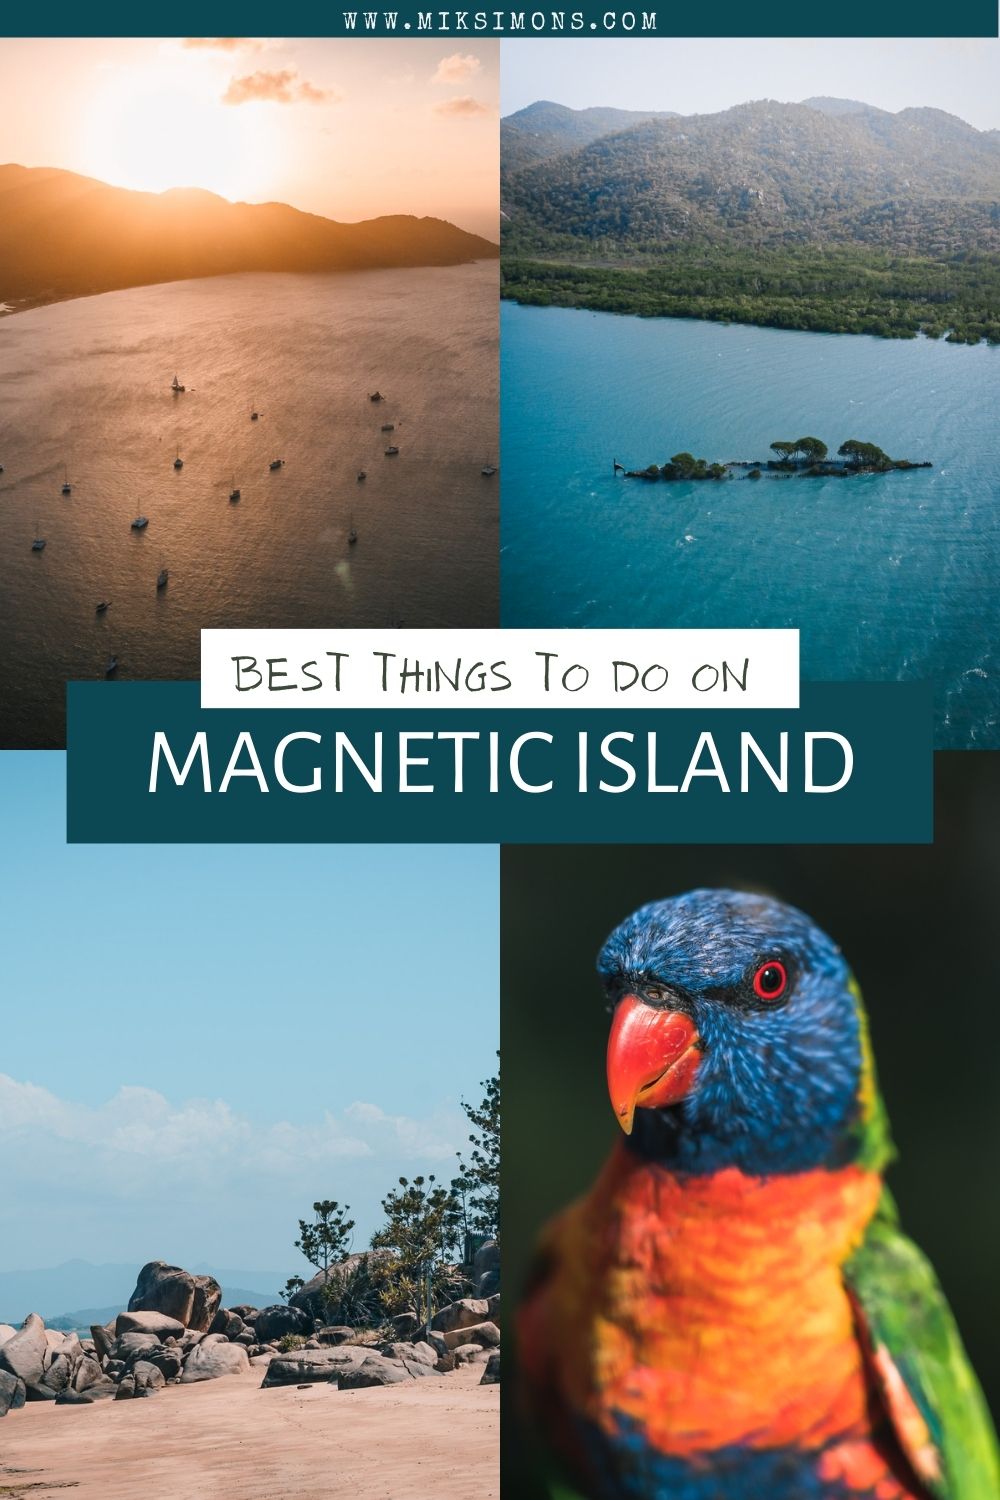
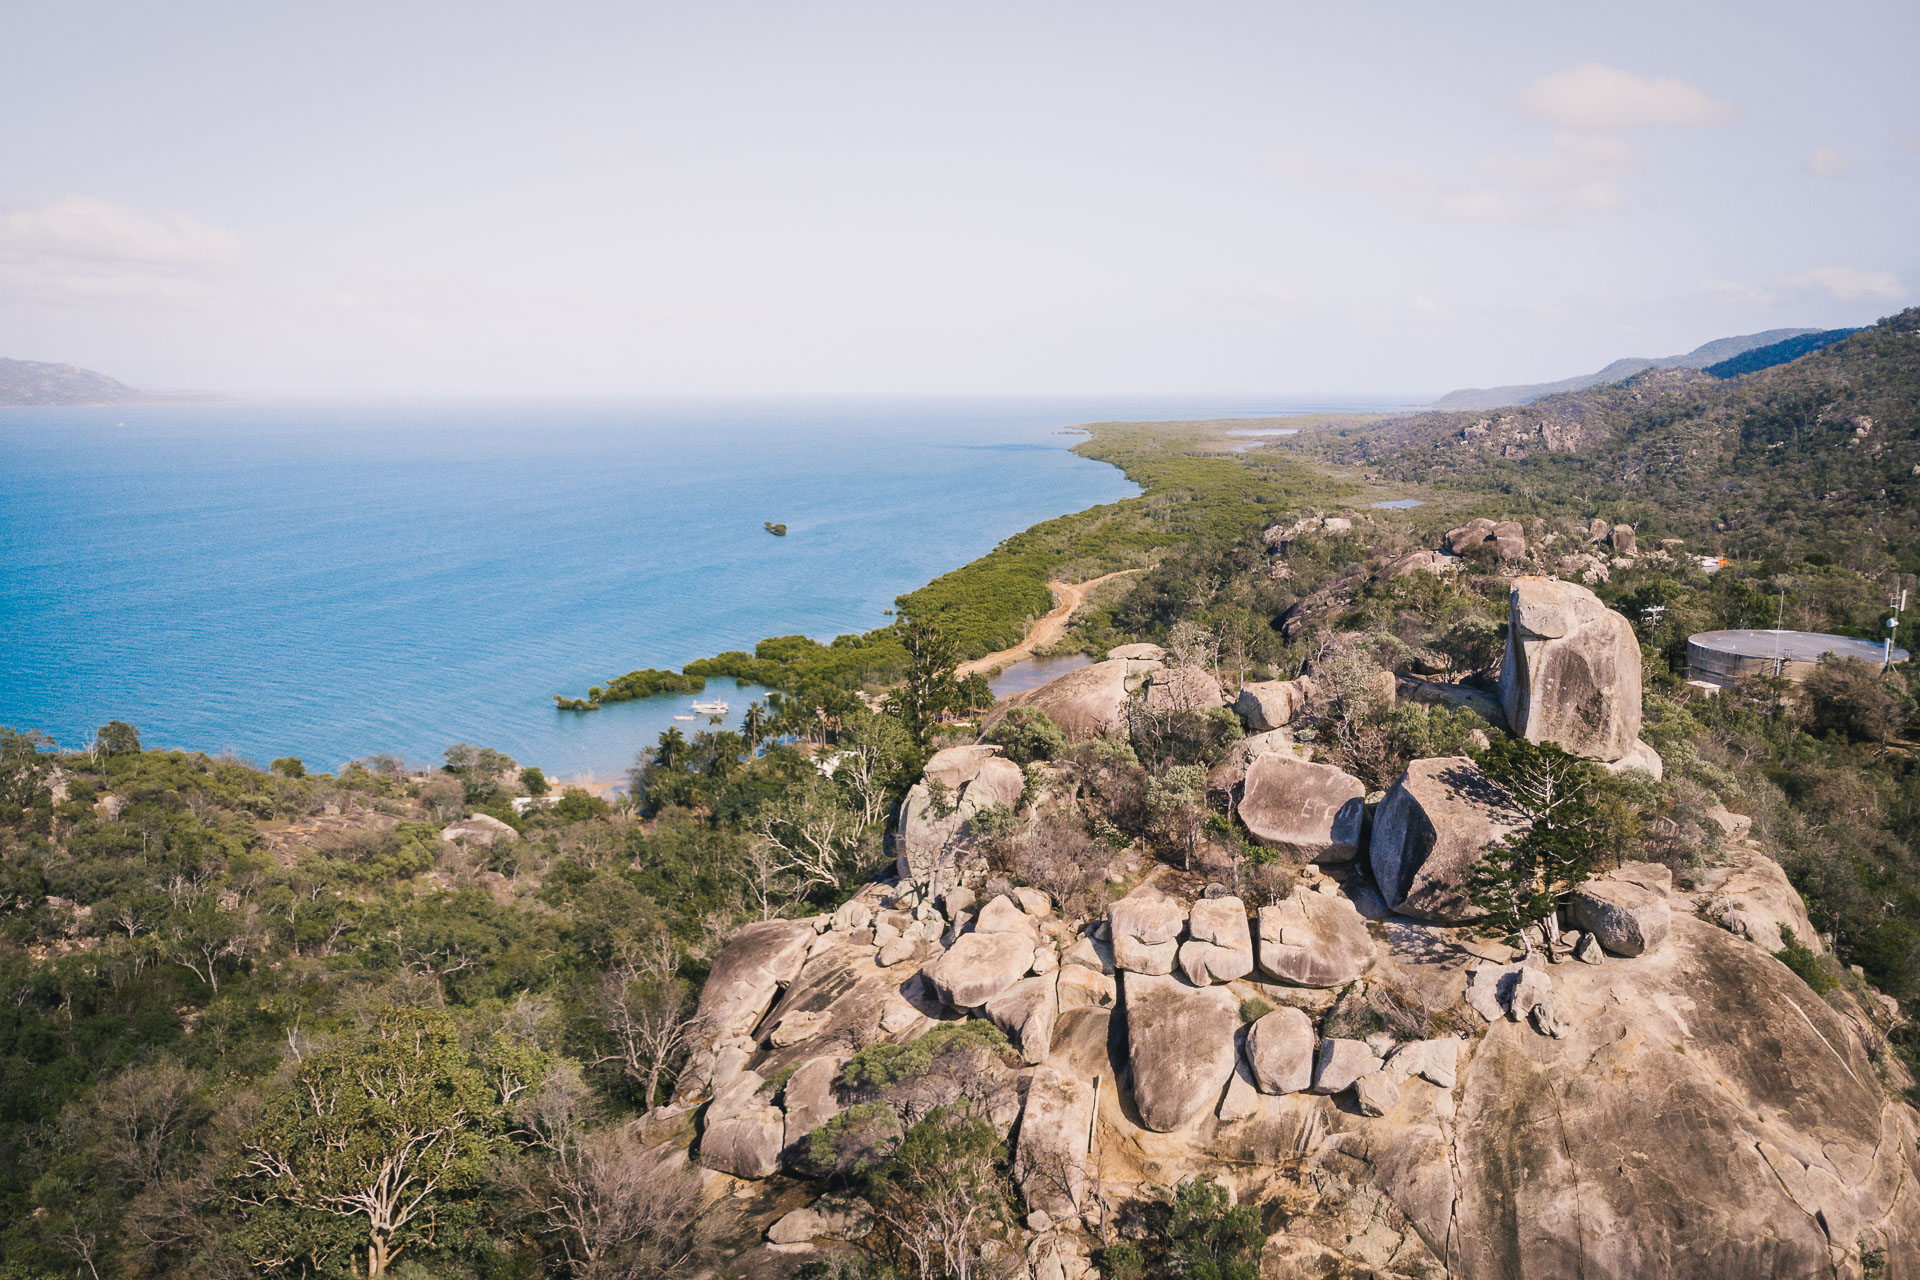
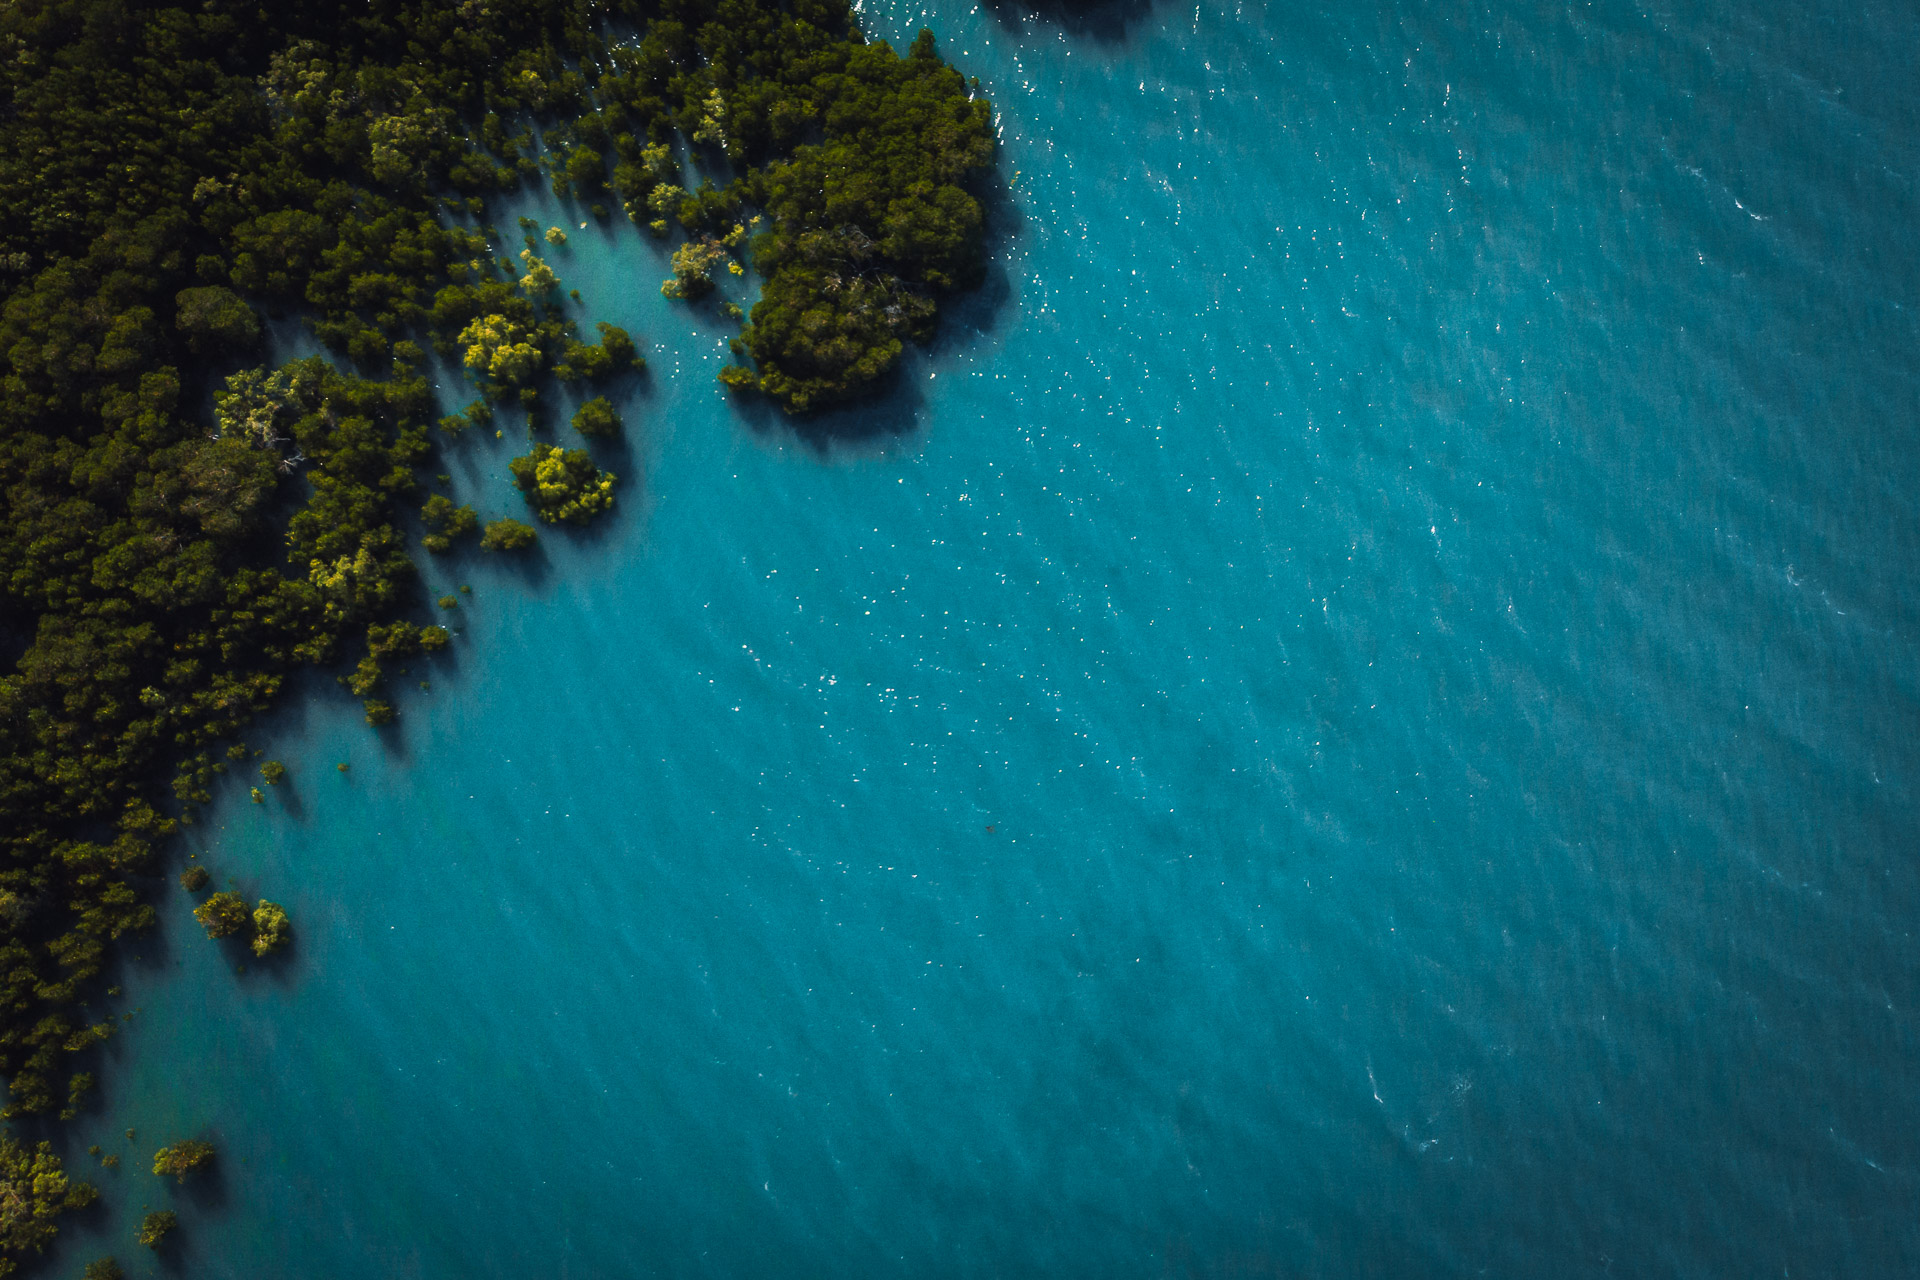
When I came here, the tides were high and created a beautiful scene with the blue ocean water surrounding the shipwreck and the green mangroves coming out of the wreck. A lovely contrast and nature’s beauty at its finest.
I started in Picnic Bay and made my way to the mangroves in Cockle Bay by walking along the paved road, where you can spot some koalas. It’s best to climb up the cliffs in between to get a better view of the area if the tides are high.
The tide was beginning to go out when I returned to Cockle Bay beach, so I was able to scramble back over the rocks and continue on to Picnic Bay further along the coast.
However, the most memorable shot was captured while I was flying the drone at this incredible location.
Cockle Bay
While getting to Cockle Bay may be difficult, it is well worth the effort if you’re looking for a place to truly unwind. You can get there by car along Cockle Way Drive, and then walk the remaining distance along the path through the mangroves until you reach the cozy little beach.
However, I didn’t have a car and the bus is not passing this area, so I had to walk the entire distance from Picnic Bay, which is about 2.5 kilometers. On the way back, the water slowly receded, which made it possible to walk along the shore and scramble over the rocks back to Picnic Bay.
READ ALSO: The Great Ocean Road: 9 amazing viewpoints
Picnic Bay
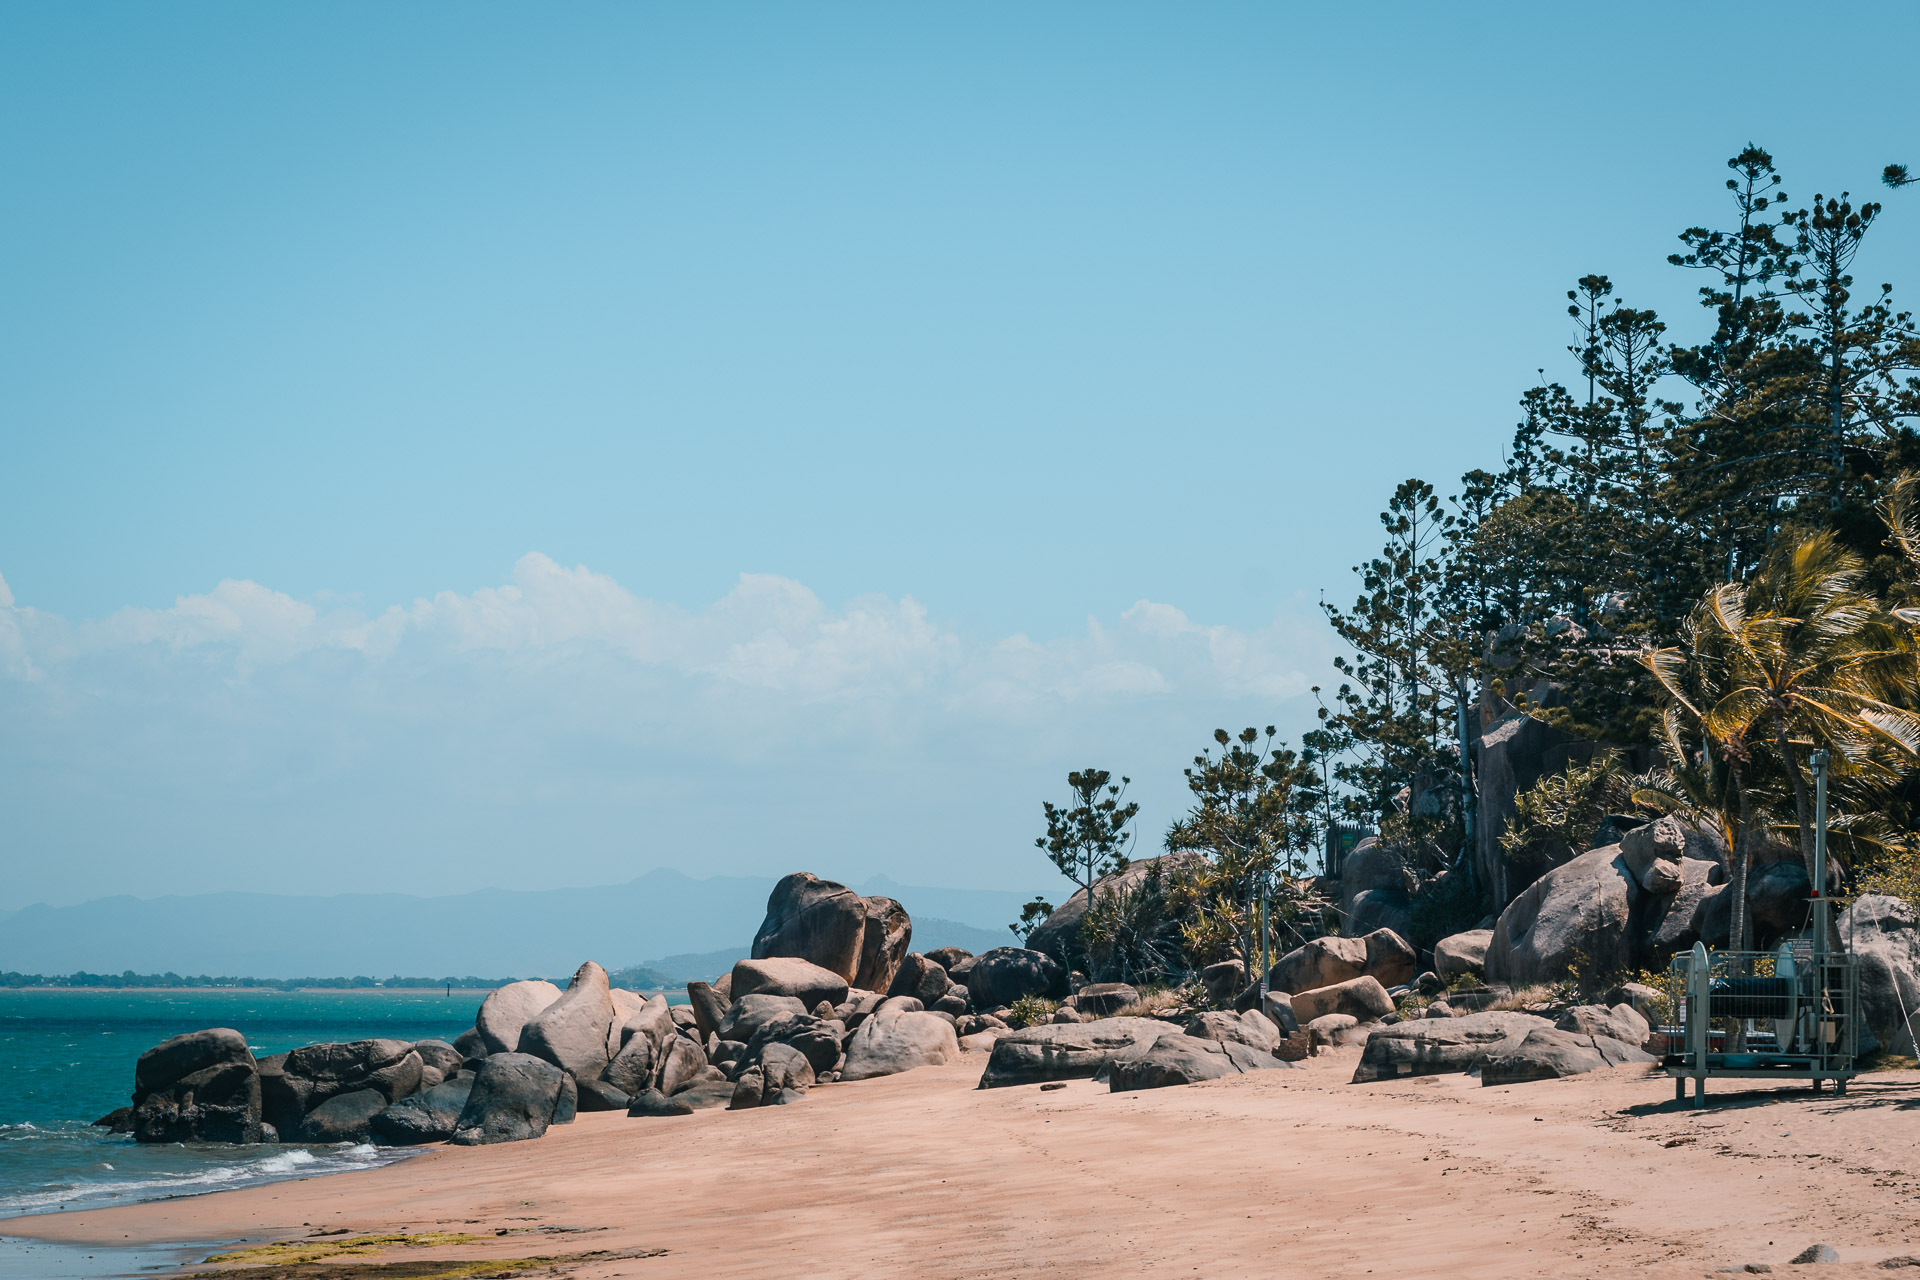
Between Cockle Bay and Hawkes Point Lookout is where you’ll find the quaint little community known as Picnic Bay. The atmosphere lives up to its name, as it is very tranquil and is just right for having a picnic on the beach.
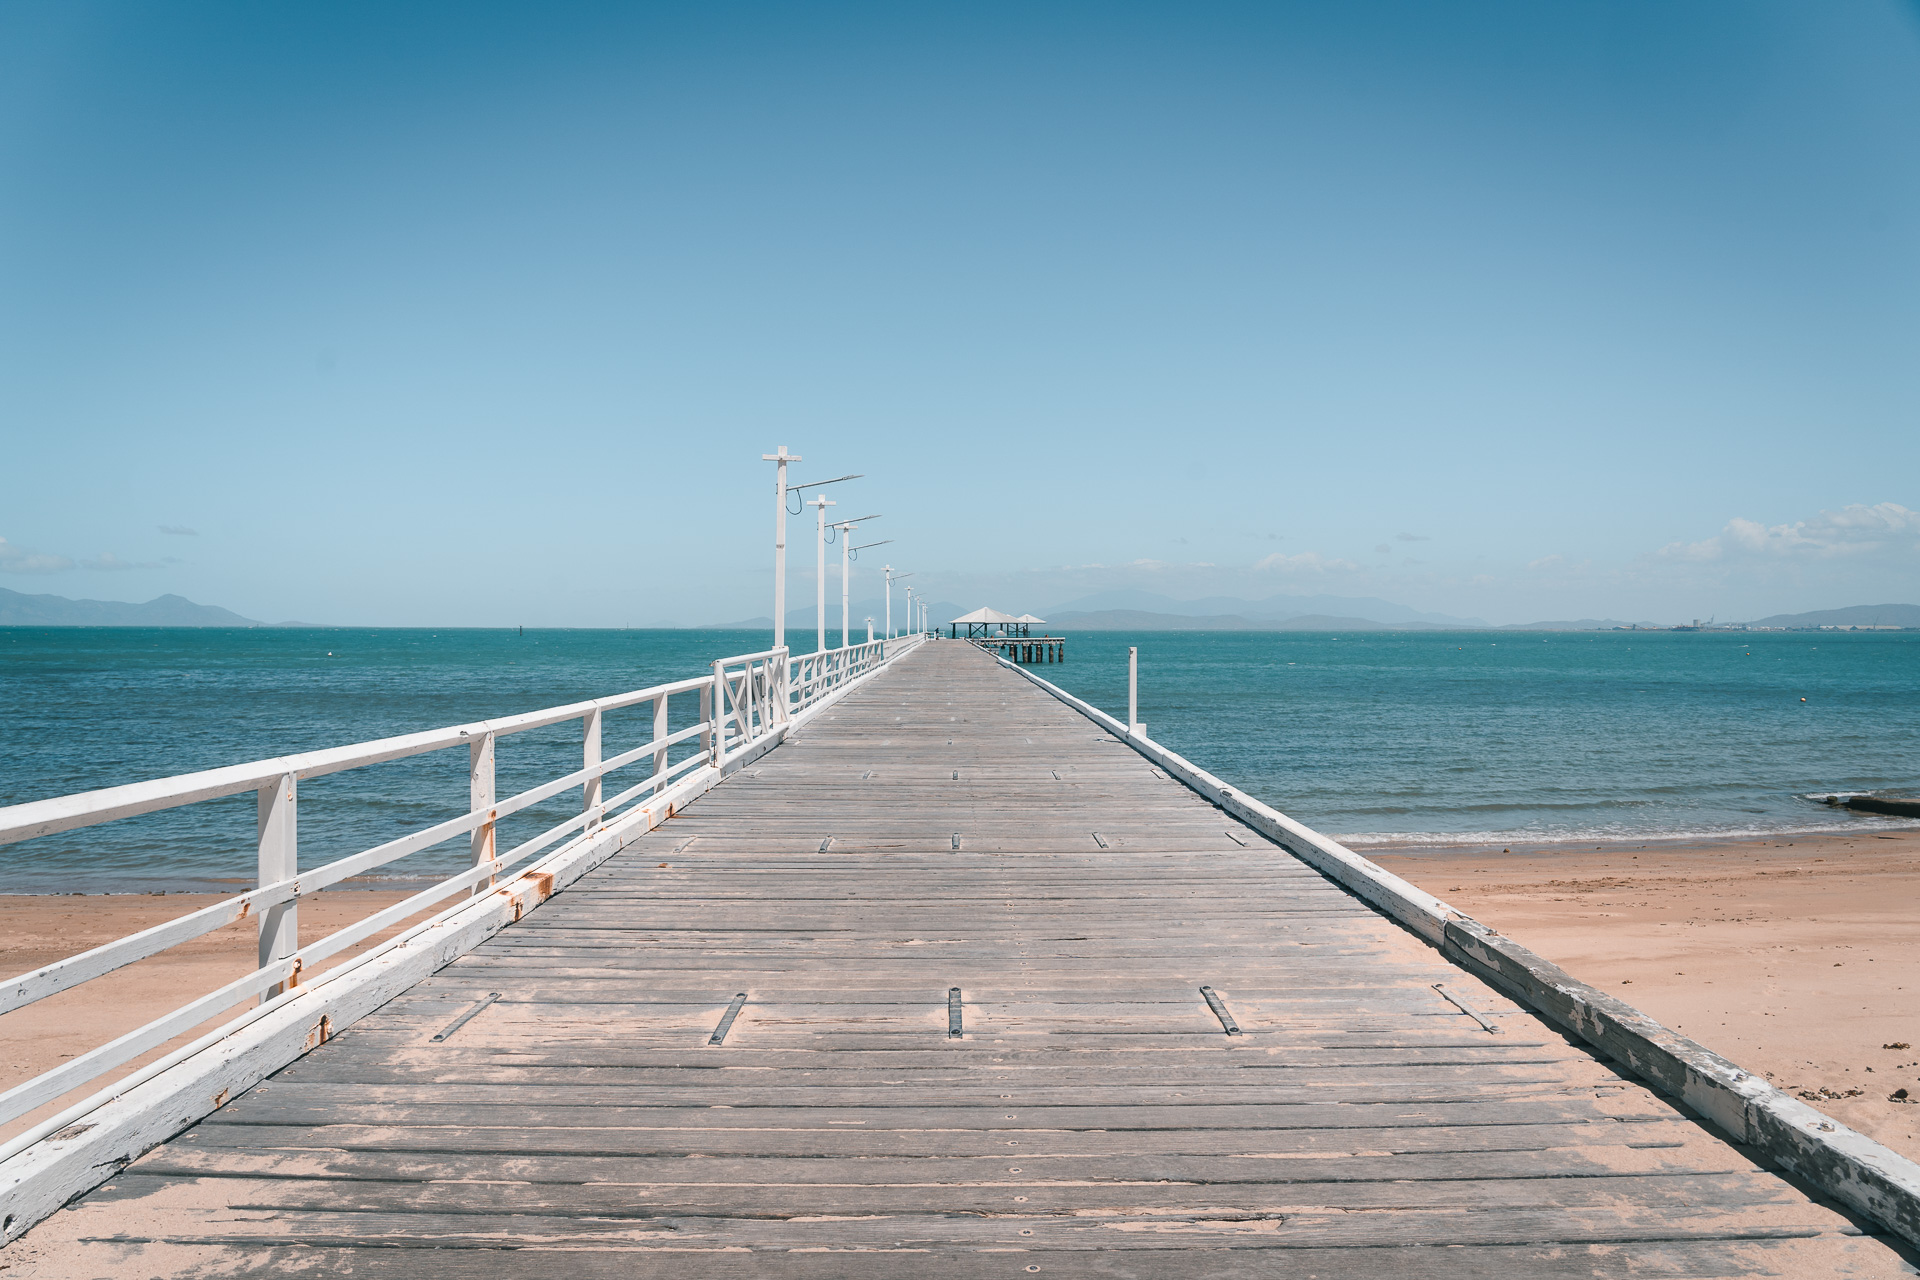
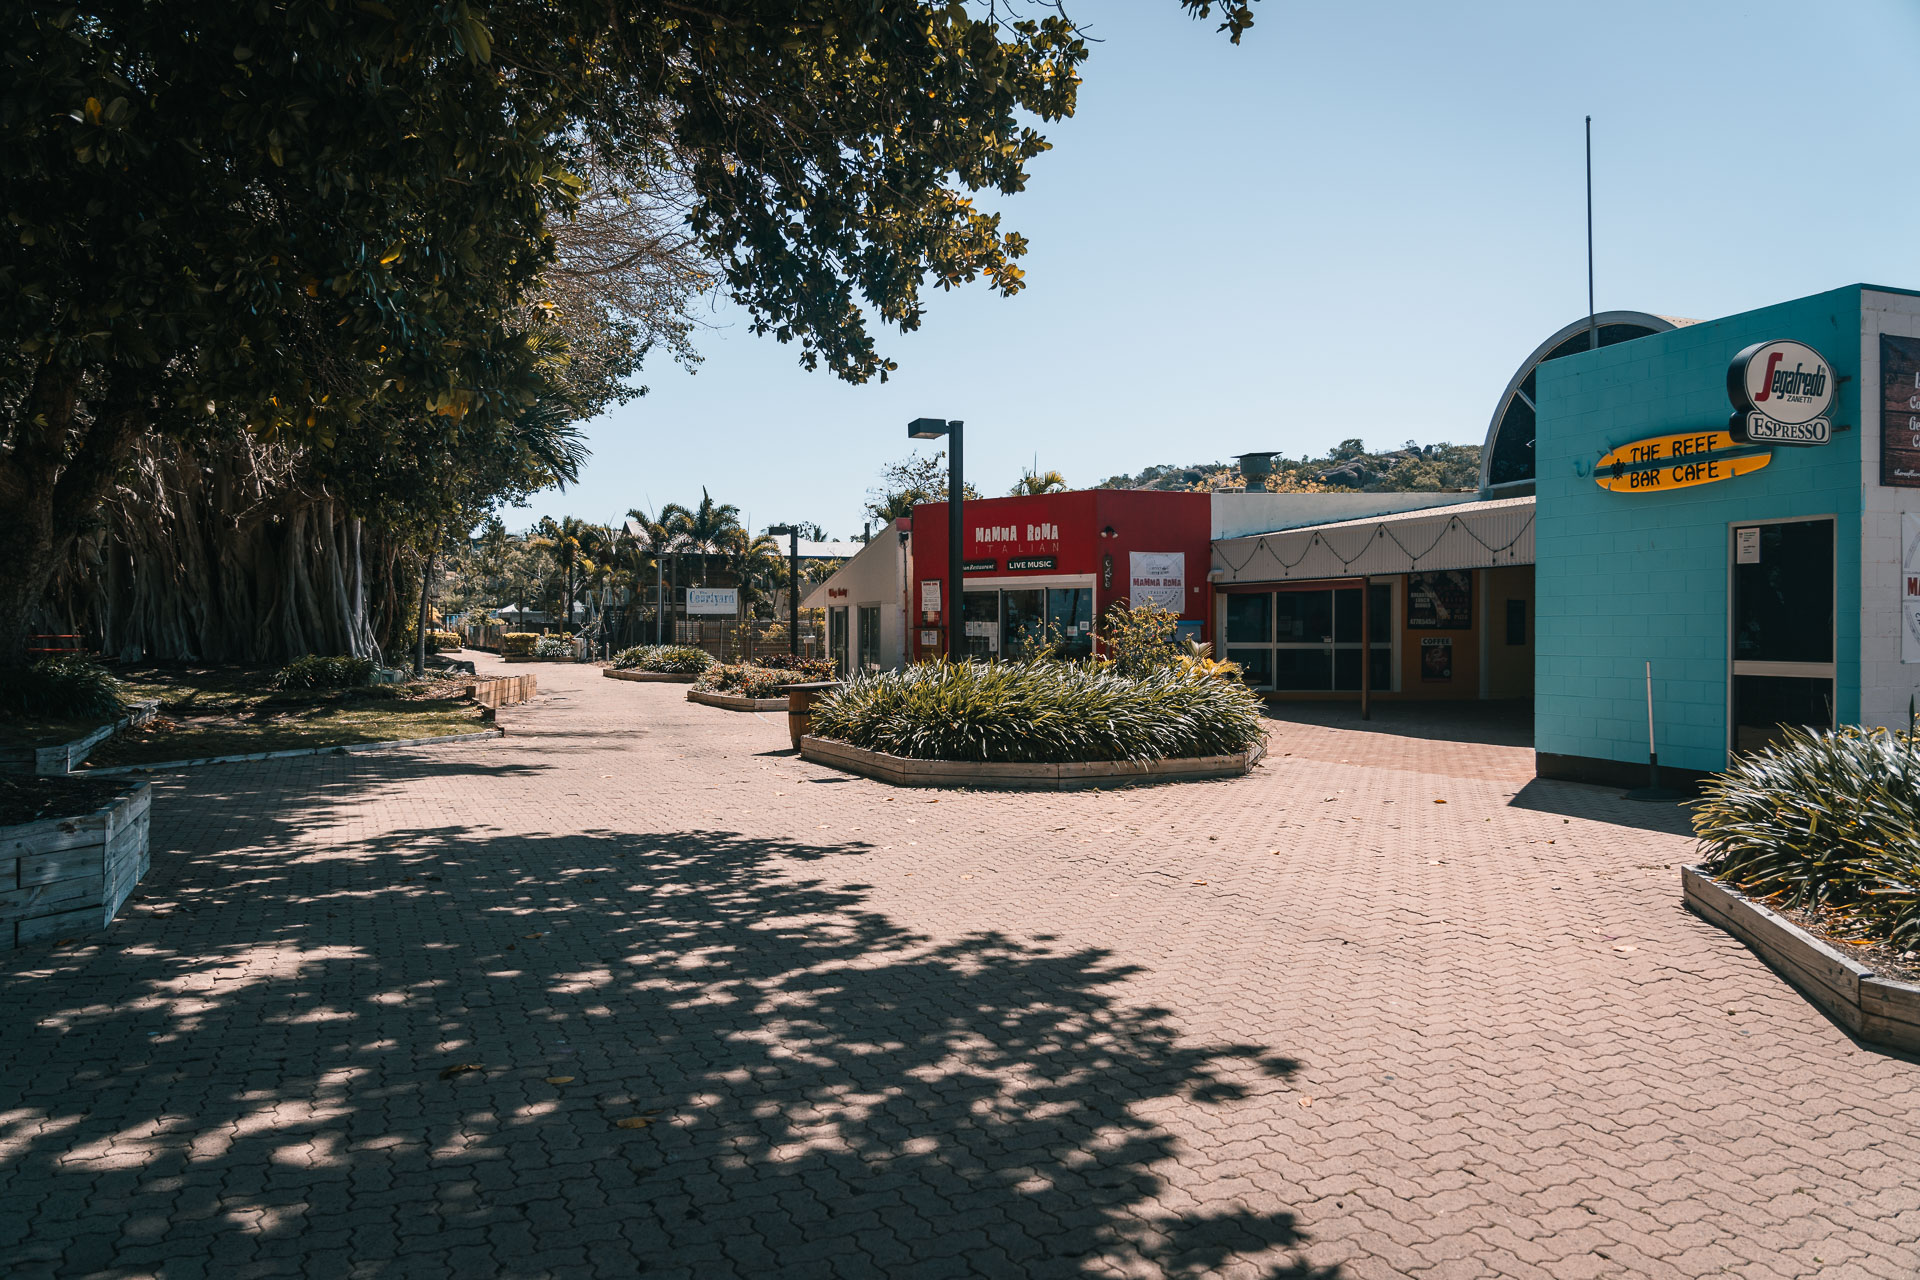
Besides enjoying a picnic on the beach, you can go for a walk on the jetty, or go for a stroll past the various restaurants and bars of the promenade.\The perfect way to unwind and enjoy the afternoon.
Picnic bay has also the first (or last) bus stop, which makes it easy to visit all the other amazing places on the island. After my morning walk to Cockle Bay and the Picnic Bay jetty, I took the bus to the Bungalow Bay Koala Village.
Bungalow Bay Koala Village
After a stroll around the small hamlet and the jetty, you can take the Sunbus from Picnic Bay to Horseshoe Bay and get off a few stops before the beach at the Bungalow Bay Koala Village.
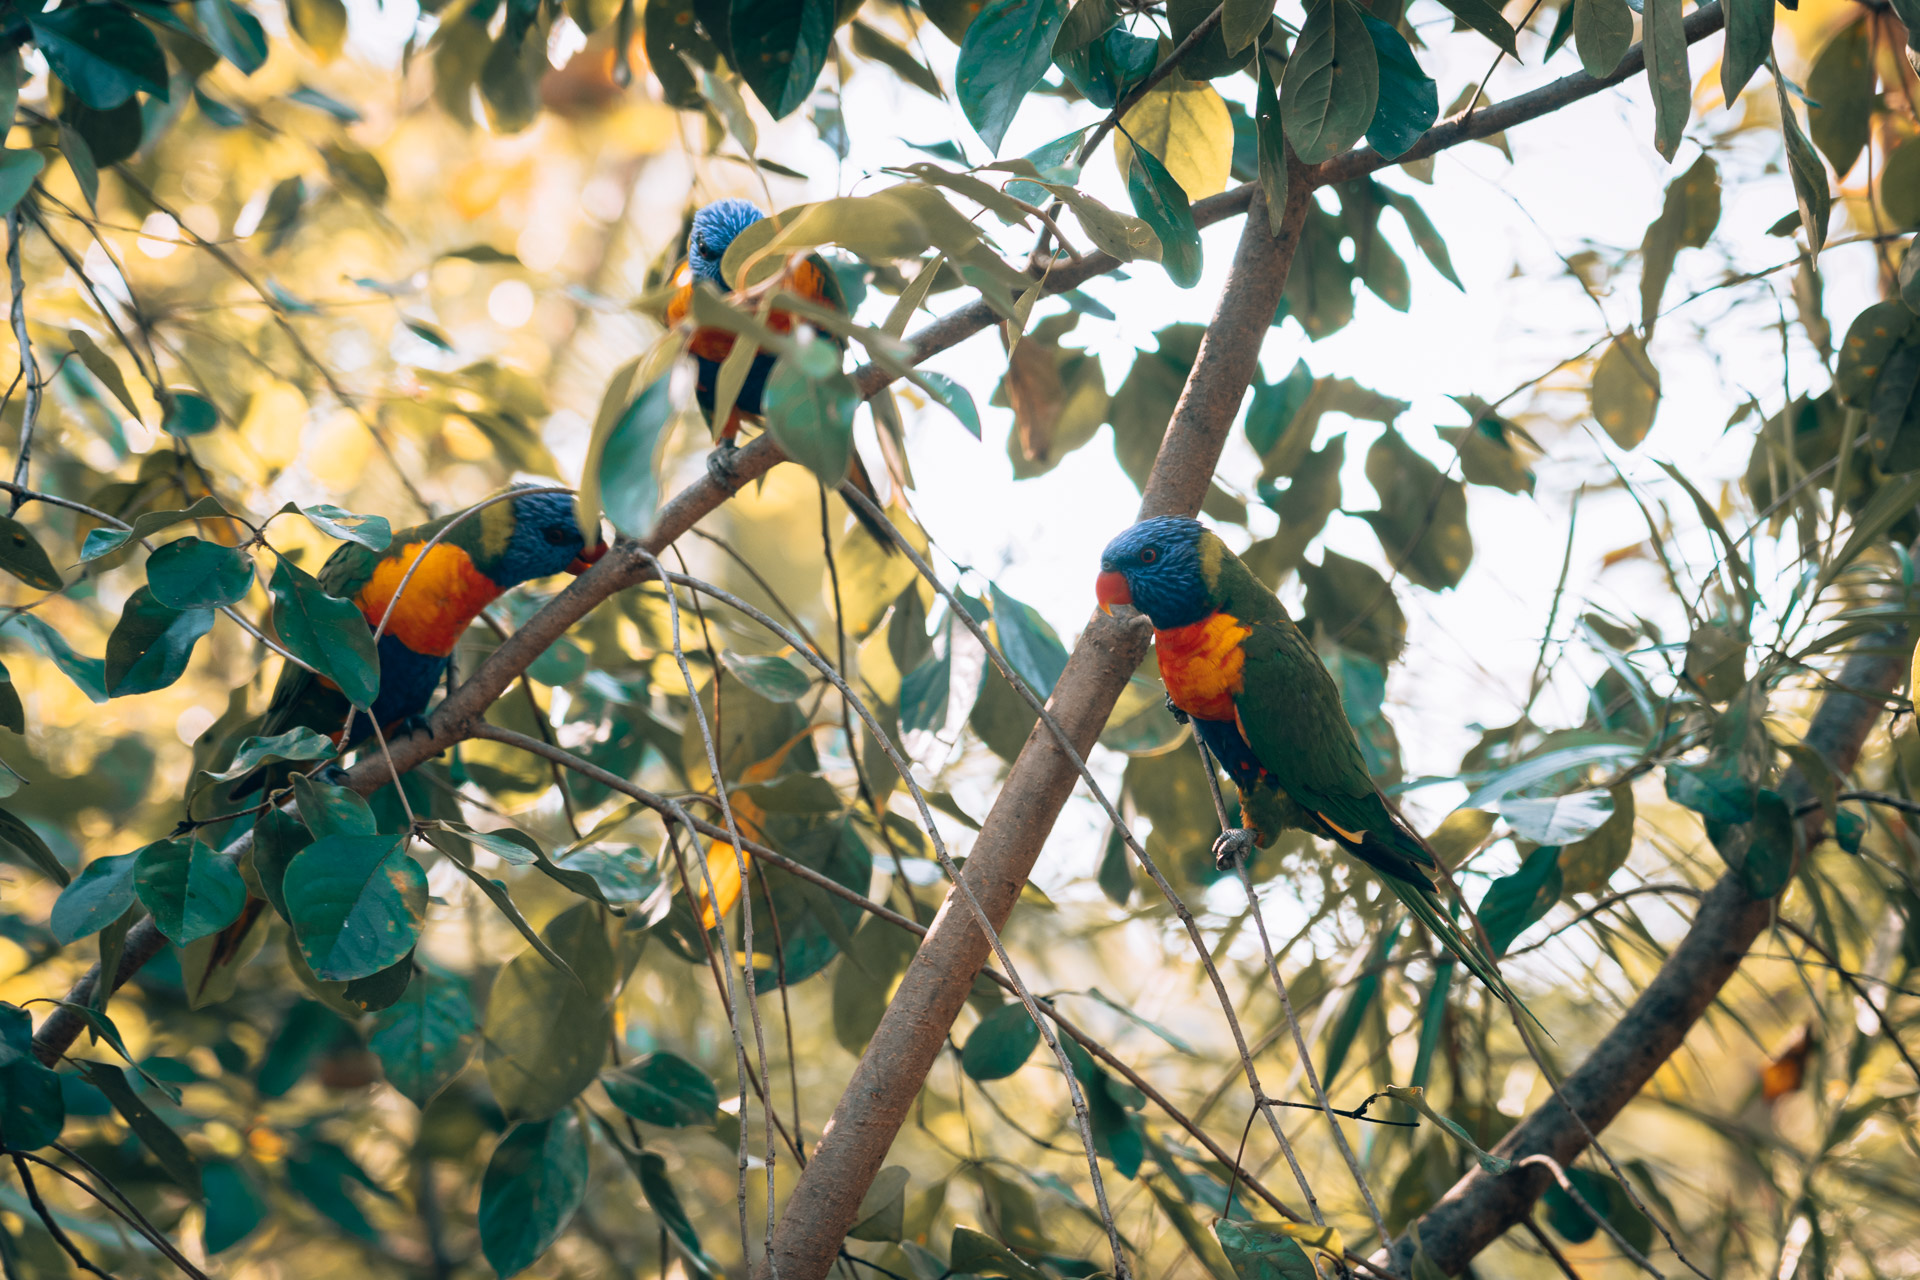
This amazing accommodation on Magnetic Island is not only a great place to stay, but it is also worth a visit because you can take a tour through the animal sanctuary and watch Lorikeets feed from your hand.
A wonderful way to spend time with children and keep the day interesting.
Arthur Bay
Distance from the Fort Junction parking: 1,2km
Instead of going to Horseshoe Bay after a visit to the Koala Sanctuary, I took the Sunbus to go back a few stops and got off at the Forts Junction Parking that leads to Florence Bay and Radical Bay. If you don’t have a rental car, walking from here is the quickest way to get to some of the most beautiful bays on the island.
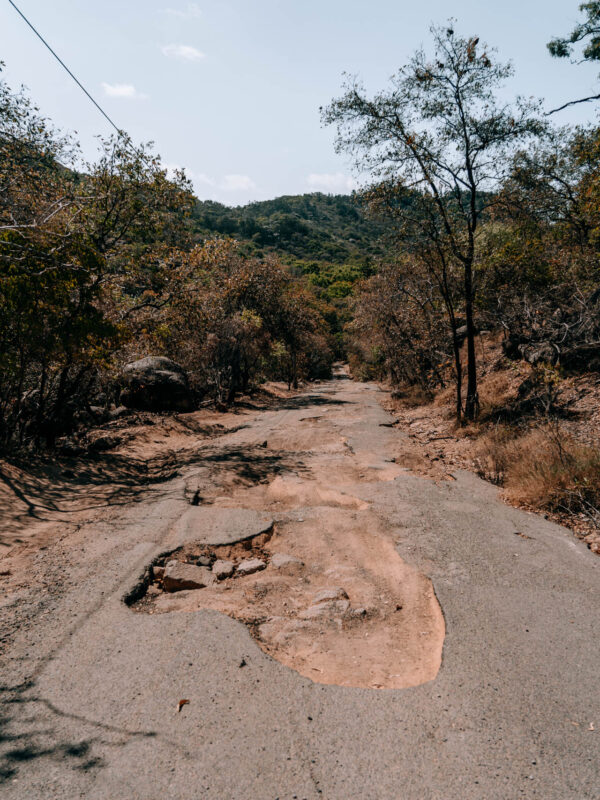
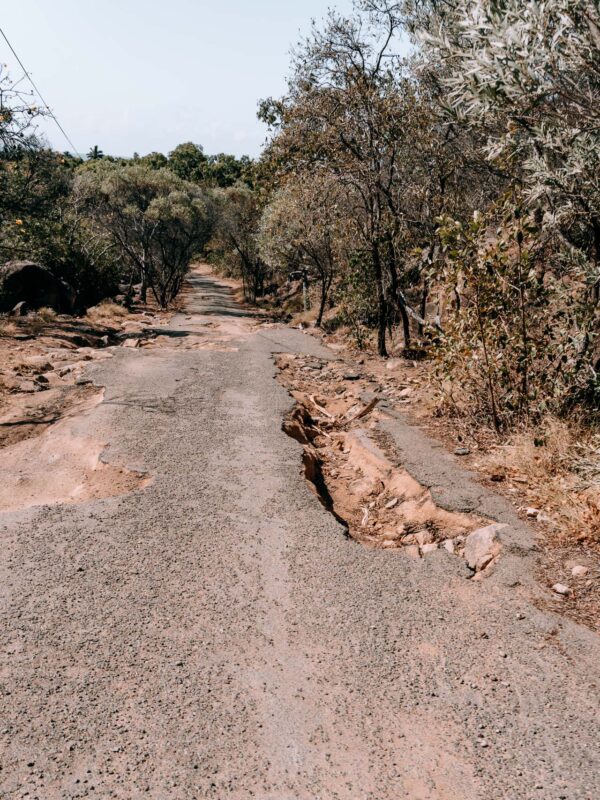
But if you do decide to rent a car or scooter and drive to these beaches yourself, you better be an experienced driver, because the roads are among the worst I’ve ever seen.
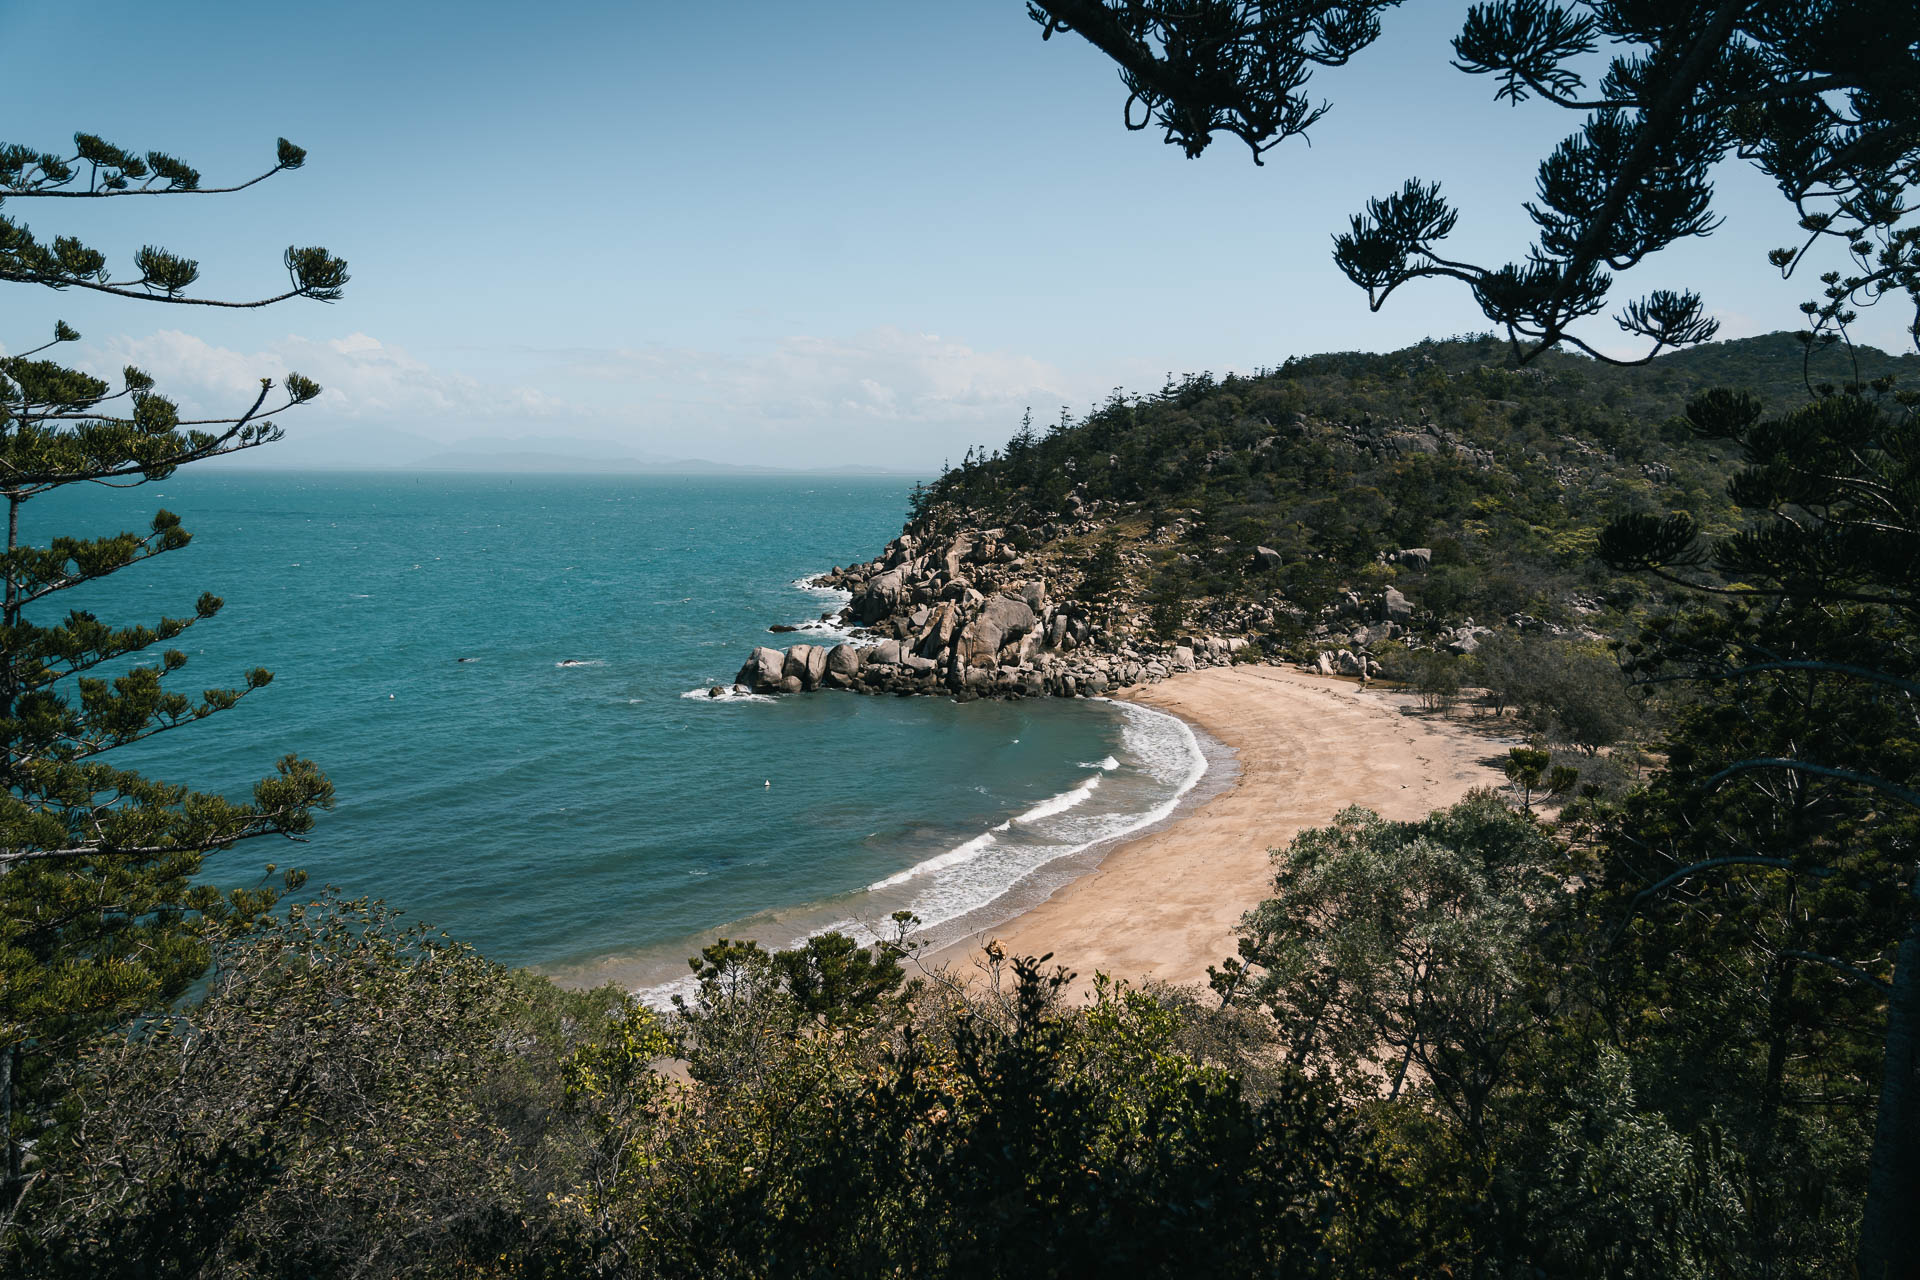
After a walk of fifteen minutes, you will arrive at a junction where you can choose to either go down the beach of Arthur Bay or continue to the next beach. Even though I did not go down to the beach myself, I had a wonderful view over Arthur Bay from the lookout that’s a bit further than the junction.
Florence Bay
Distance from the Fort Junction parking: 2,5km
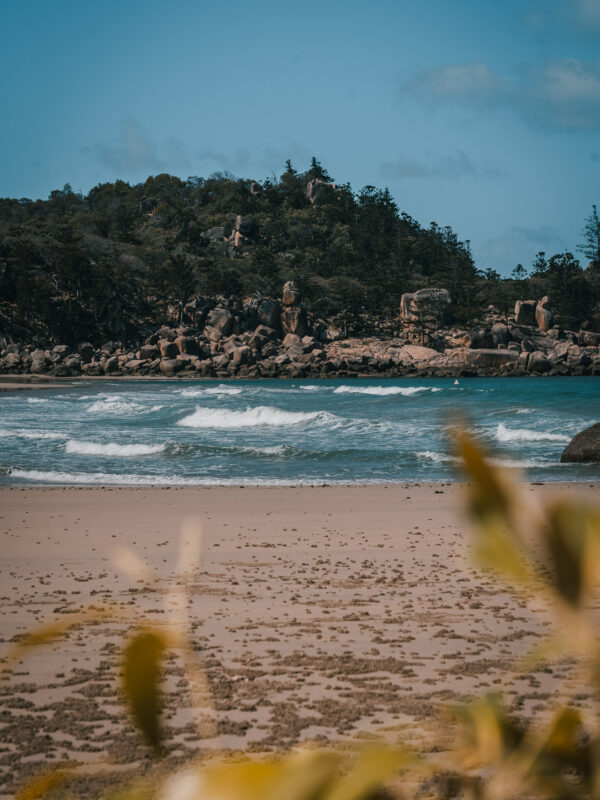
Because the road signs aren’t very clear, finding the beach at Florence Bay is a bit of a challenge. As a result, I ended up walking in the wrong direction through the forest. Eventually, I came across other people on a walking path, and by allowing them, I was able to reach this stunning white beach with a gorgeous blue ocean.
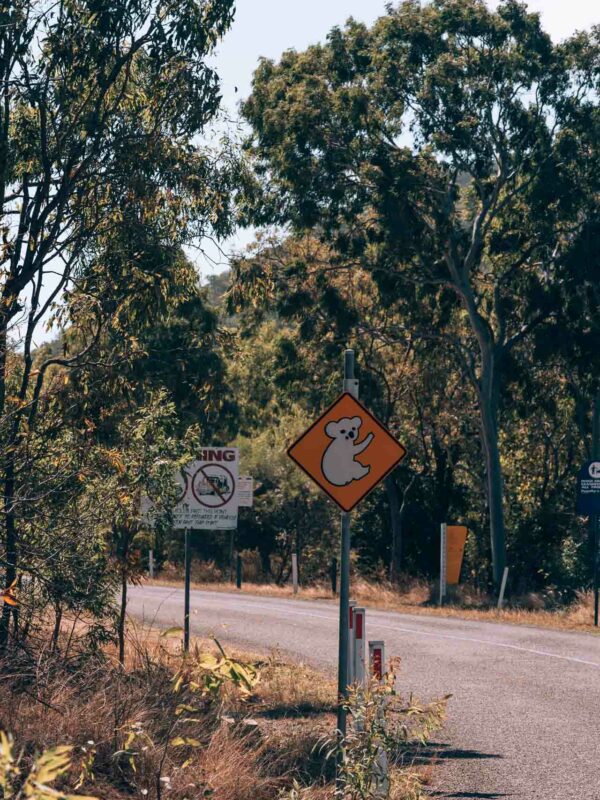
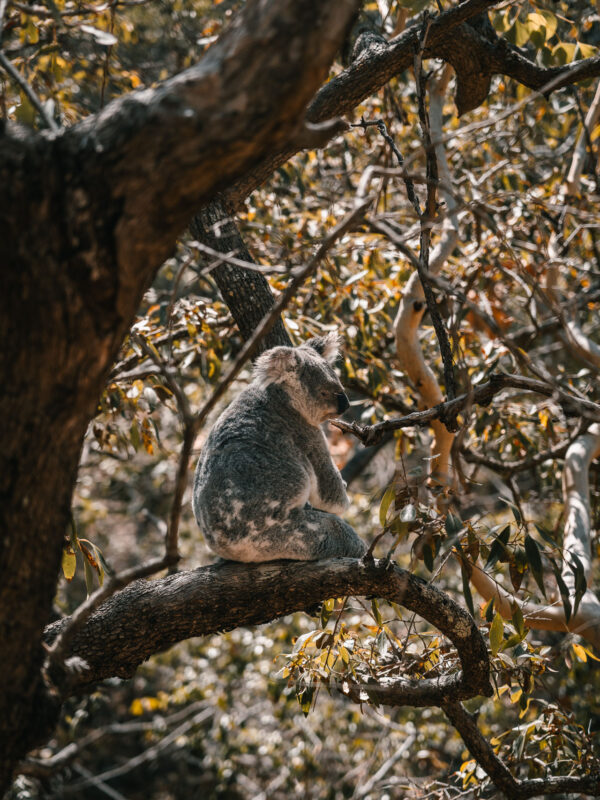
Even though I went in the wrong direction, I found some koalas in the trees, so if you decide to go on this walk, make sure to look up every once in a while.
After a walk of more than two kilometers, this awesome beach has the perfect setting to relax and unwind. If you have more time during your trip, I recommend spending more time here.
Radical Bay
Distance from the Fort Junction parking: 3,2km
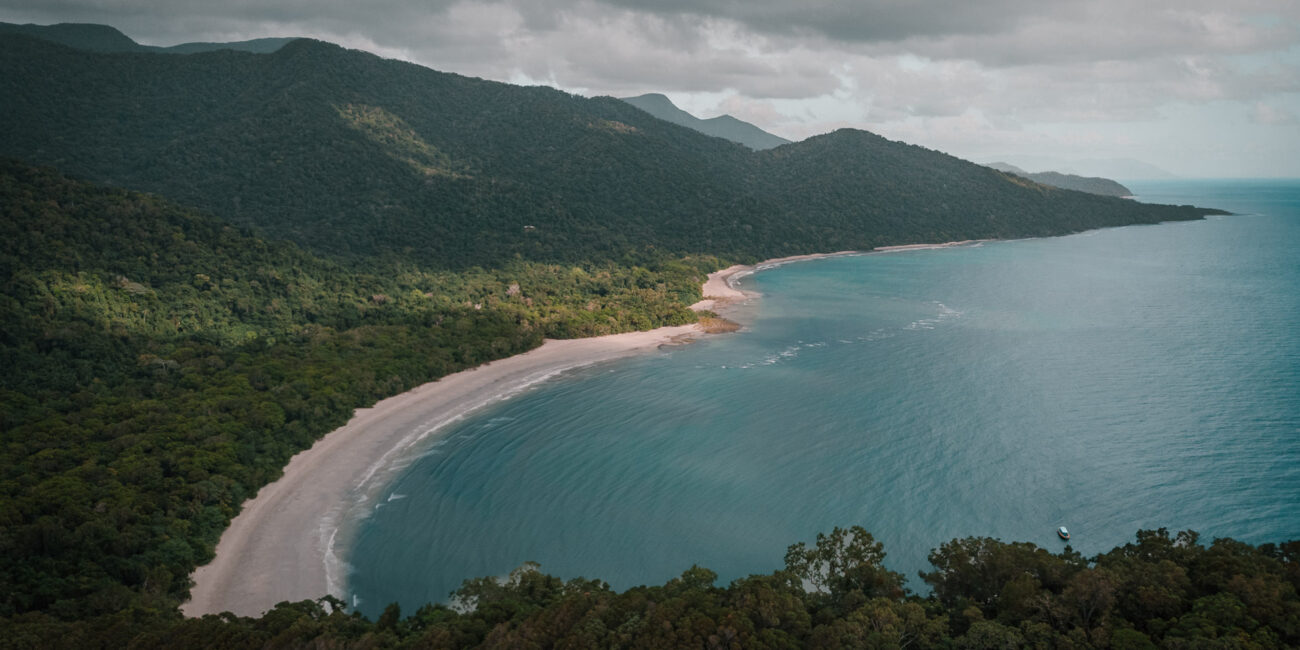
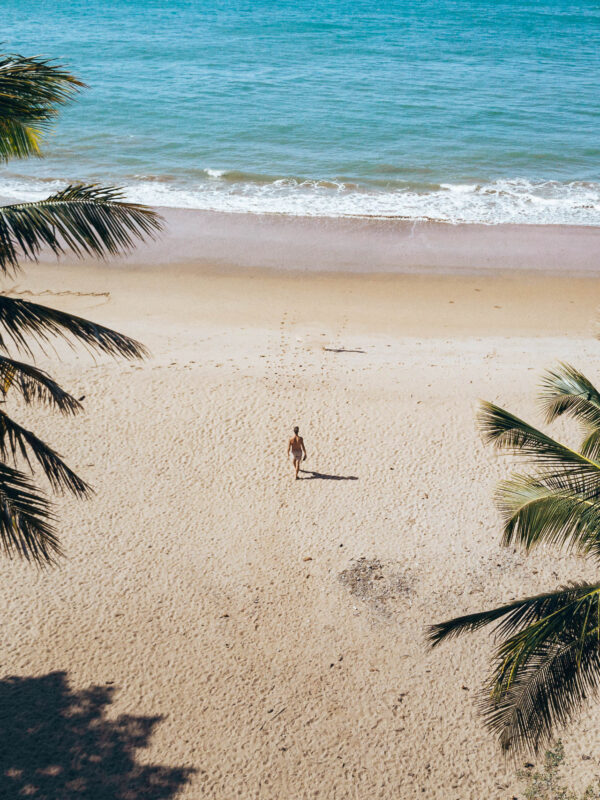
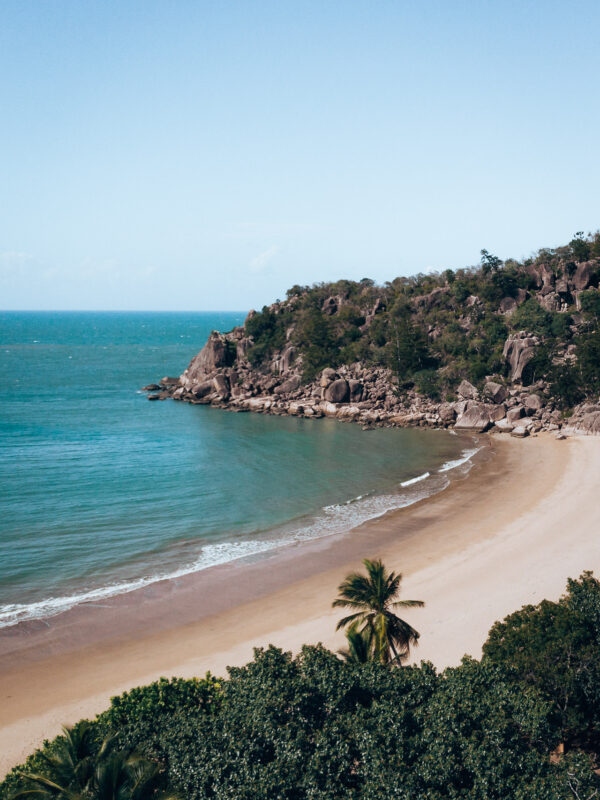
The walk from Florence Bay to Radical Bay takes another 10-15 minutes and it’s definitely worth it as in my opinion, Radical Bay is the most picturesque beach on the island.
Even though there were a few cars at the Radical Bay parking lot, I’m glad I didn’t bring a rental car because I doubt you’ll make it through this section of the road in one piece. This section of the road is even worse than the first part.
You won’t regret it though, as the beach is great for swimming, tanning, and relaxing under the shade of palm trees.
Horsehoe Bay
Walking distance from Radical Bay: 1.8km
There are a few ways to make your way from Radical Bay to Horseshoe Bay. If you were brave enough to take this road by car, you’ll have to go back along this road as there is no other way for vehicles.
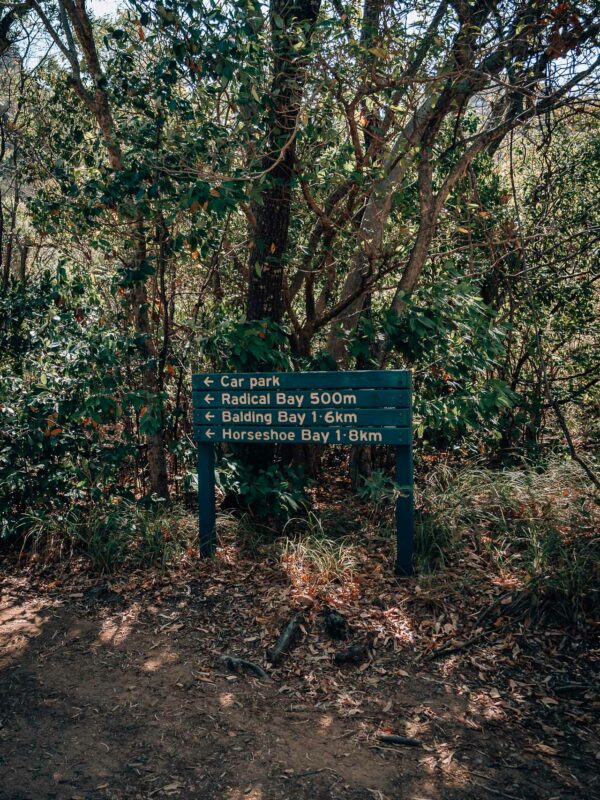
However, when you walked all the way here, you can walk the 3,2 km back to the Fort Junction Parking, where you can grab the bus again to Horseshoe Bay or you can keep going along the parking area of Radical Bay until you reach Balding Bay, which is better known as a nudist beach.
I decided to walk to Horshoe Bay through the forest path past the parking area but I skipped a visit to Balding Bay as there was not much time anymore to reach Horsehoe Bay before sunset.
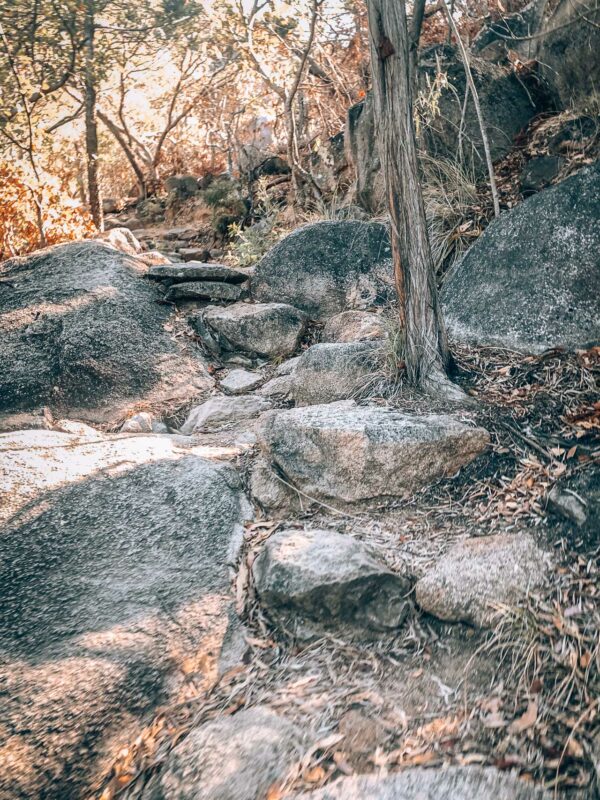
The hike from Radical Bay through the forest and over the rocks to Balding Bay is quite challenging and has poor signs, but it is extremely beautiful and well worth the effort if you have the time to make it during your visit.
The walk took at least 40 min. to reach the beach of Horseshoe Bay at the end of Henry Lawson street but it was more than worth it.
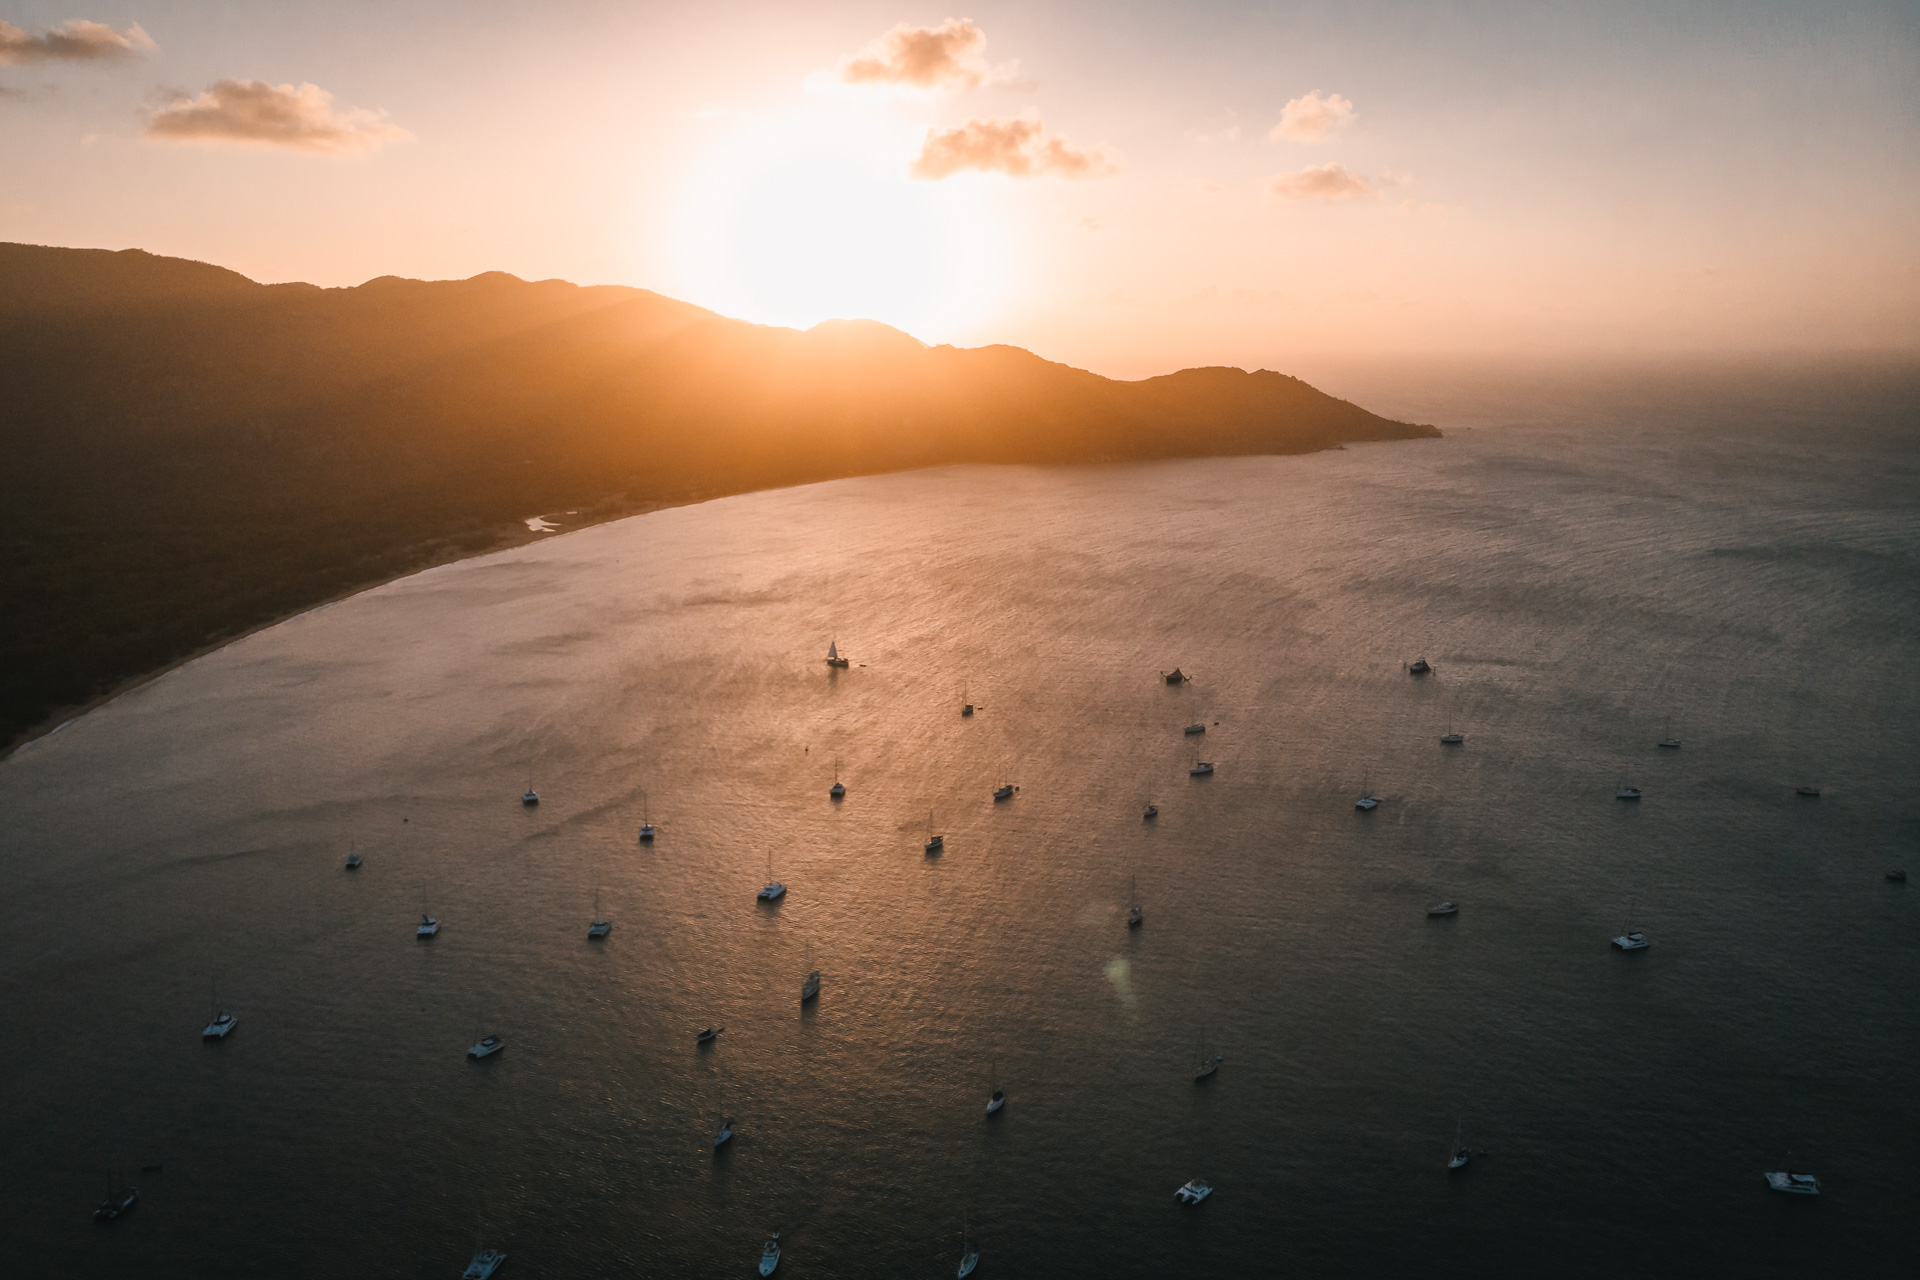
In Horseshoe Bay, I got rewarded with an epic sunset and flew the drone to make some stunning photos until he made an emergency landing in the water for an unknown reason. Luckily, I could manage to reach the drone before he touched the water.
DAY 3
I returned to Townsville on Day 3 via ferry in the morning, where I picked up my Toyota from the parking lot of the ferry terminal, and then I continued my trip to Airlie Beach and the Whitsundays.
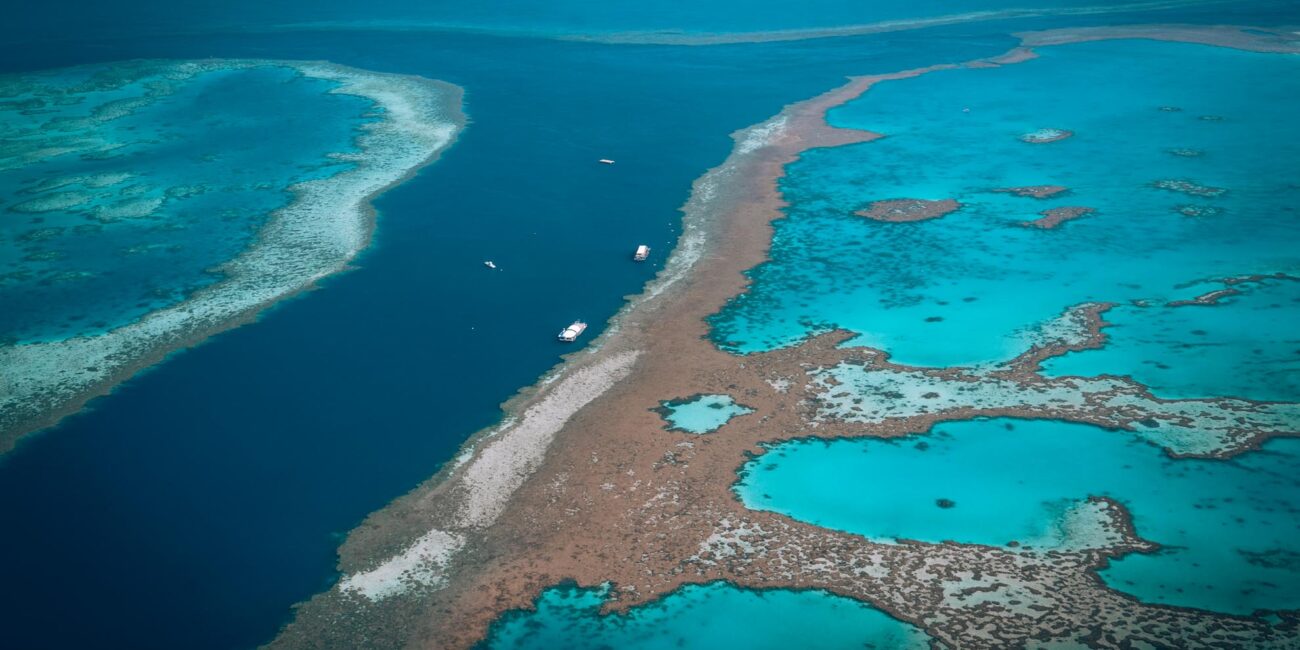
Although, it was a short triplet was a blast with many beautiful spots and some challenging adventures. If you are planning to visit Magnetic Island, I can also advise searching for other activities such as a snorkeling trip around the Great Barrier Reef, a whale watching tour, or even a sunset sailing trip.
Read more articles about Australia
Plan your visit to Far North Queensland with my favorite travel apps
To plan my adventures, I use these FREE websites and apps as they provide the best information, the best deals, and they are user-friendly.
- Trip – Flight deals
- Booking.com – Hotels and accommodation
- TourRadar – Group trips
- TripAdvisor – Reviews and activities
- HostelWorld – Hostels
- GetYourGuide – Activities and excursions
- RentalCars – Car rental
- Omio – Transport
- iVisa – Travel documents
- Wise – Money transfer
- InsuredNomads – Travel Insurance
PICTURES AND EDITING
All the pictures on this page are made and owned by me. If you are interested in some pictures to use for your magazine, website, blog, or any other purpose, just send me an email and we’ll figure it out.
Do you like the edits? My Presets will be online soon so you can edit your pictures in just one click!
The camera gear I used for this trip
I never go out without my camera and many people ask me which gear I use. So to make it quite easy, I listed all the gear I used for this trip below.
Most of the time, I travel with the Sony A7III and the Sony 24-105mm/f4 as my primary lens but depending on the location, I change to another setup. However, I love the Tamron 17-28 to shoot in the big cities.


